Vì yêu cầu công việc, tôi thường xuyên sử dụng phần mềm máy tính từ xa. Tôi đã dành thời gian thử nghiệm năm tùy chọn miễn phí: TeamViewer, DeskIn, AnyDesk, Awesun, và Parsec. Dưới đây, tôi chia sẻ hiệu suất của chúng trong công việc từ xa, trò chơi, và phát trực tuyến video để giúp những người đang tìm kiếm công cụ từ xa đáng tin cậy. Hầu hết các bài kiểm tra được thực hiện thông qua kết nối điện thoại đến PC và MacBook đến PC.
Bảng so sánh đặc điểm phần mềm máy tính từ xa miễn phí

Lưu ý: "bốn nền tảng chính" đề cập đến Windows, Mac, iOS và Android.
Công việc từ xa: DeskIn vượt trội hơn Awesun
Trong năm lựa chọn, chỉ có DeskIn và Awesun cho phép sử dụng thương mại trong các phiên bản miễn phí của chúng. TeamViewer, AnyDesk và Parsec yêu cầu nâng cấp trả phí. Vì vậy, tôi tập trung vào DeskIn và Awesun cho các tình huống làm việc.
Hoạt động cơ bản: DeskIn cảm thấy trực quan hơn
Cả DeskIn và Awesun đều có giao diện máy tính để bàn gọn gàng, với truy cập nhanh vào các tính năng như trò chuyện văn bản và chuyển đổi màn hình đôi. Tuy nhiên, DeskIn cung cấp kết nối nhanh hơn và ổn định hơn, trong khi Awesun cảm thấy chậm chạp hơn.
Độ nhạy của cuộn chuột trên Awesun quá thấp, làm cho việc điều hướng trở nên khó khăn hơn so với việc cuộn mượt mà của DeskIn.

Phiên bản Máy tính/Điện thoại của DeskIn
Ứng dụng di động của DeskIn là ứng dụng thân thiện với người dùng nhất mà tôi đã thử. Chế độ chạm + chuột hỗn hợp và các cử chỉ (ví dụ: chuyển đổi cửa sổ, duyệt web) hoạt động liền mạch. Phản hồi màn hình nhanh như chớp, ngay cả trên điện thoại.

Tính năng bổ sung: nhắn tin/giọng nói với các thiết bị từ xa và một phím tắt Chế độ xem Tác vụ để chuyển đổi nhanh giữa các cửa sổ.

Ứng dụng di động của Awesun cũng có chế độ hỗn hợp và một menu một lớp (thân thiện với điện thoại). Tuy nhiên, nó thiếu phím tắt Chế độ xem Tác vụ và các công cụ giao tiếp (ví dụ: cuộc gọi giọng nói), buộc người dùng phải phụ thuộc vào các ứng dụng bên thứ ba để cộng tác.

Chuyển file: DeskIn không có giới hạn về tốc độ/ kích thước
Chuyển file di động của DeskIn bị tính phí (máy tính để bàn là miễn phí). Tốc độ rất ấn tượng: 5GB qua Wi-Fi mất khoảng 3 phút. Awesun cho phép chuyển file miễn phí trên tất cả các nền tảng nhưng giới hạn file ở mức 1GB, hạn chế khả năng sử dụng.

Nhập liệu từ xa: Các phím tắt của DeskIn nổi bật
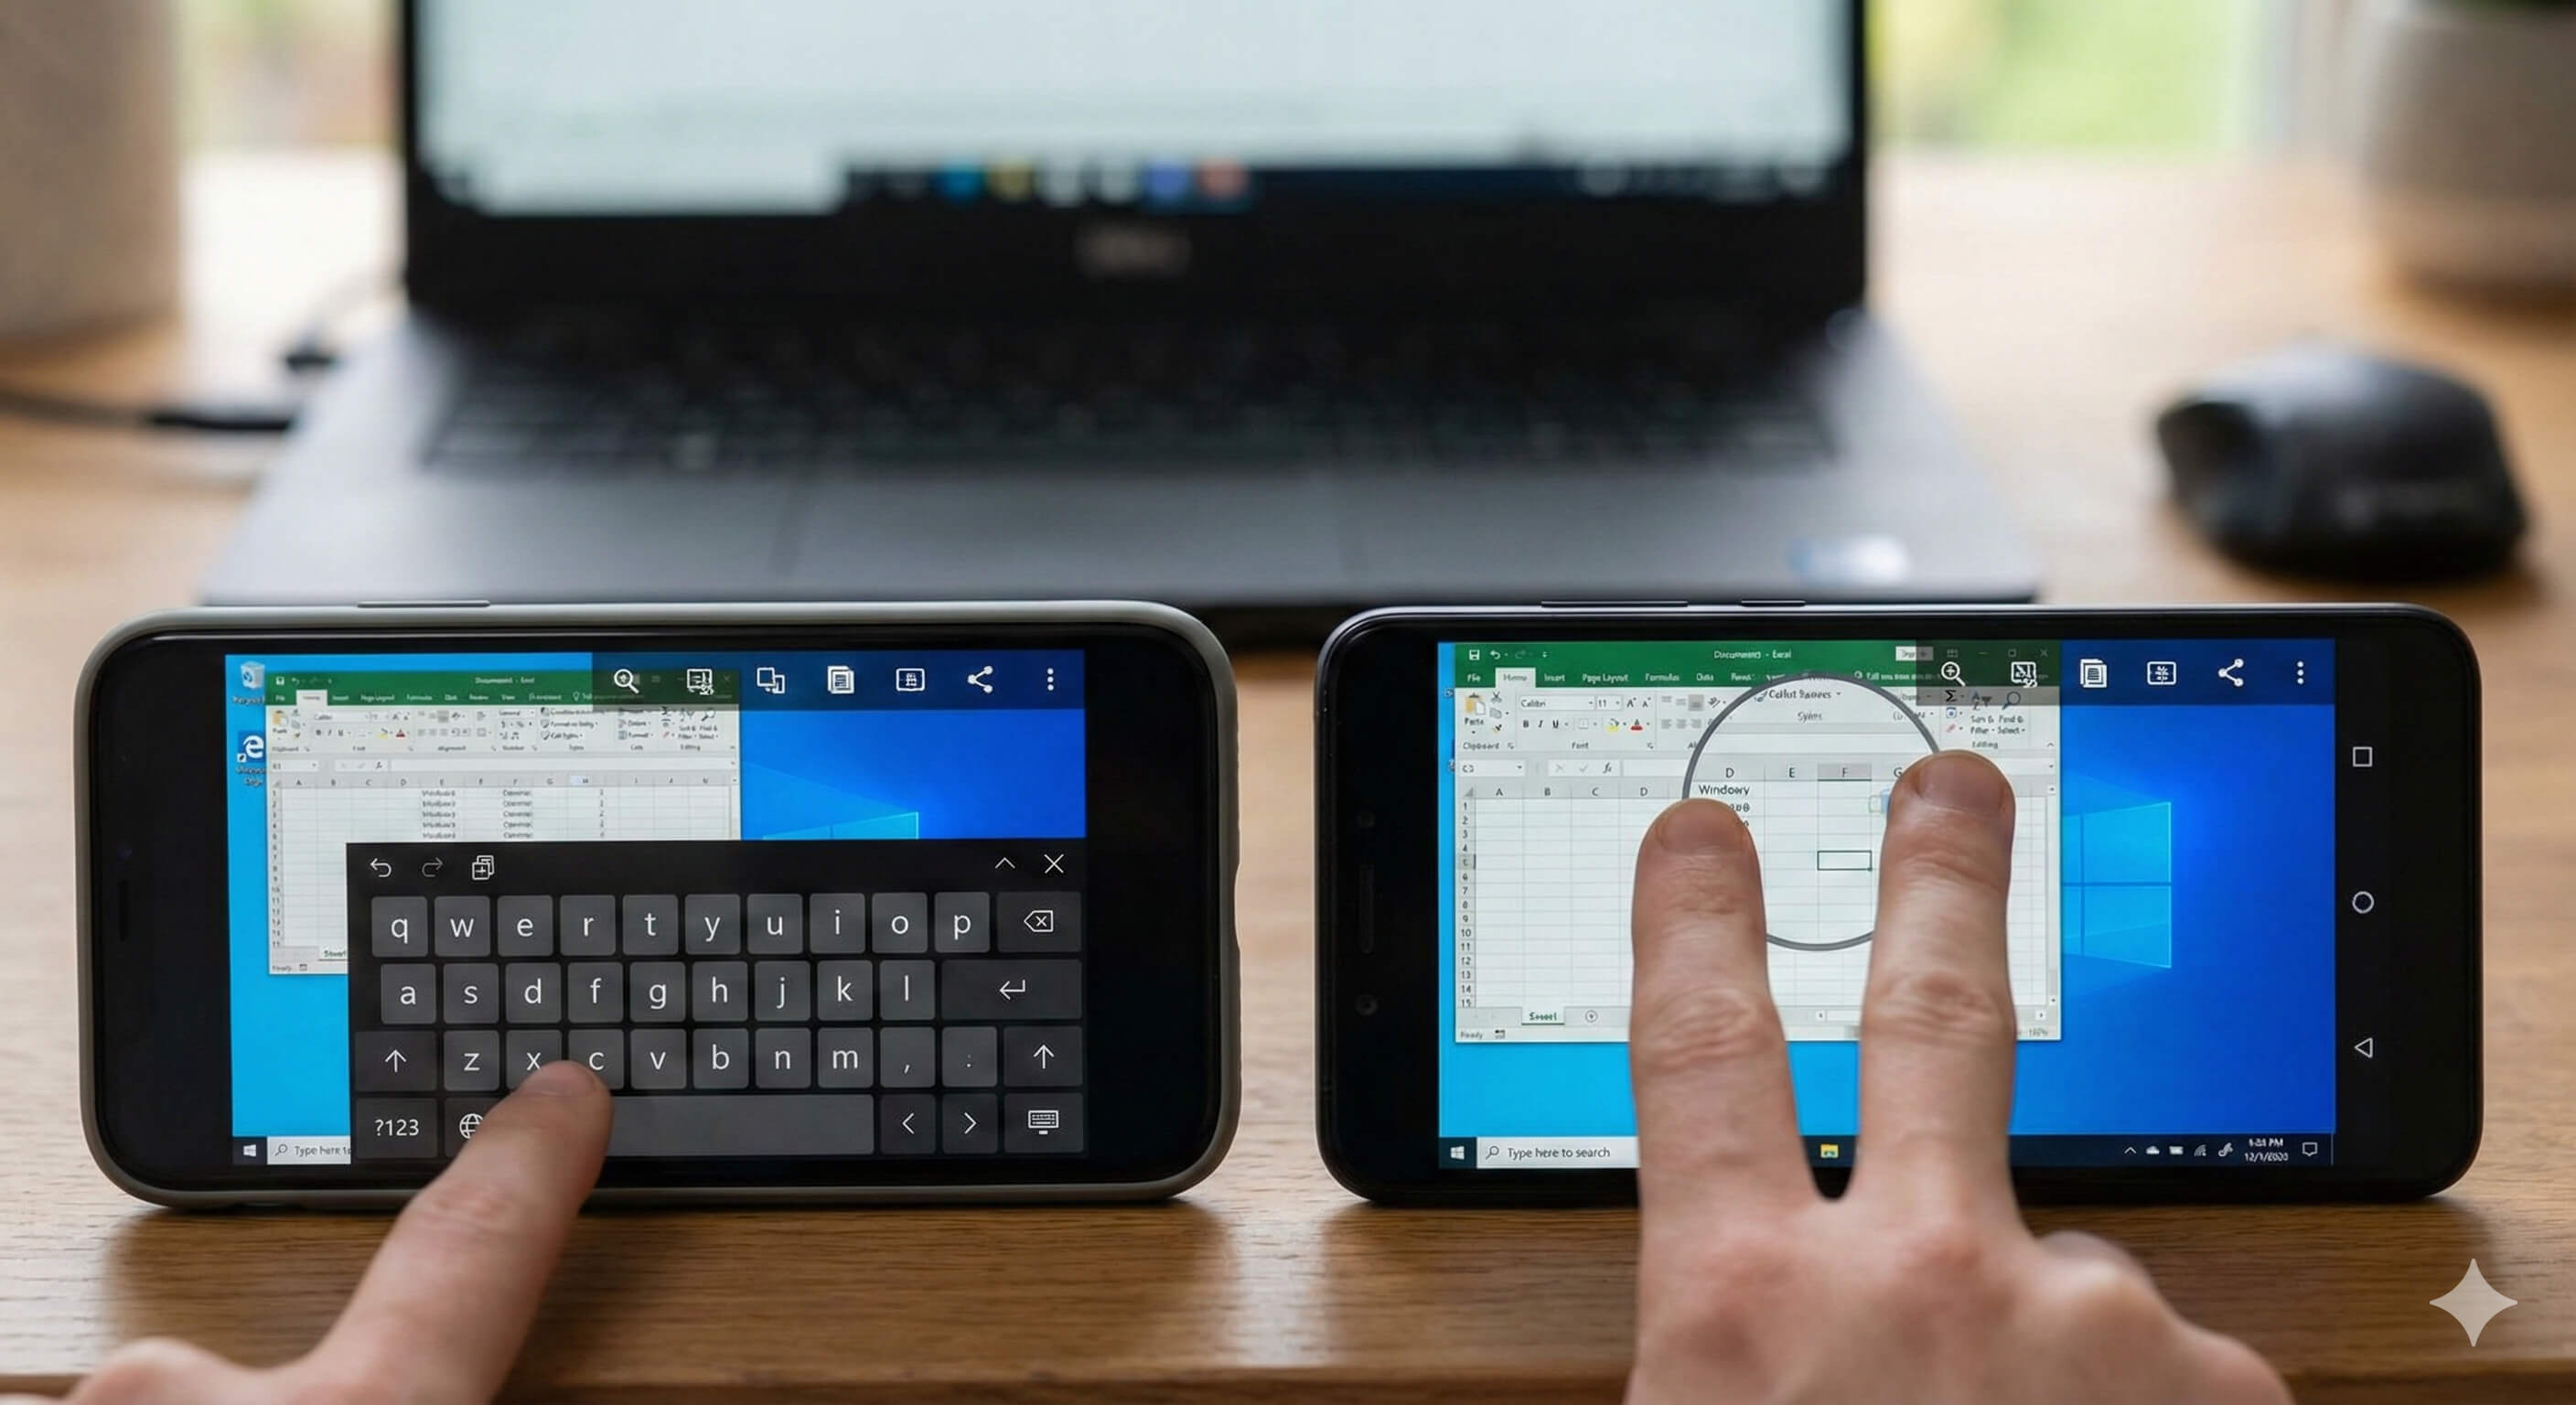
Đối với phần gõ văn bản, các phiên bản máy tính để bàn khá tương tự, vì vậy tôi sẽ không so sánh chúng. Thay vào đó, tôi sẽ chia sẻ trải nghiệm khi sử dụng điện thoại để điều khiển máy tính từ xa.
Cả phiên bản di động của DeskIn và Awesun đều có bàn phím chiếm khoảng một nửa màn hình, giúp việc gõ văn bản tương đối thoải mái.
Tuy nhiên, DeskIn có lợi thế lớn: nó cho phép người dùng ghim các phím tắt thường dùng (như sao chép và dán) trên bàn phím hoặc trên màn hình từ xa. Điều này giúp dễ dàng sao chép nội dung mong muốn trong khi gõ và dán ở nơi cần thiết. Người dùng cũng có thể tùy chỉnh các phím tắt:

Awesun, ngược lại, giấu các phím tắt trong một menu. Khi tôi muốn sao chép nội dung đã chọn, tôi cần chuyển sang menu phím tắt, nhấn sao chép, rồi chuyển trở lại bàn phím. Điều tương tự cũng áp dụng cho việc dán, làm cho quá trình này trở nên khá c cumbersome. Thêm vào đó, sau khi sử dụng một phím tắt, việc quay lại bàn phím yêu cầu nhấn "Mặc định" thay vì "X." Cái tên này gây nhầm lẫn, và tôi thường nhấn nhầm vào nút sai lúc đầu, điều này thật sự rất khó chịu.
Bảy ứng dụng khác được đánh giá ngắn gọn:
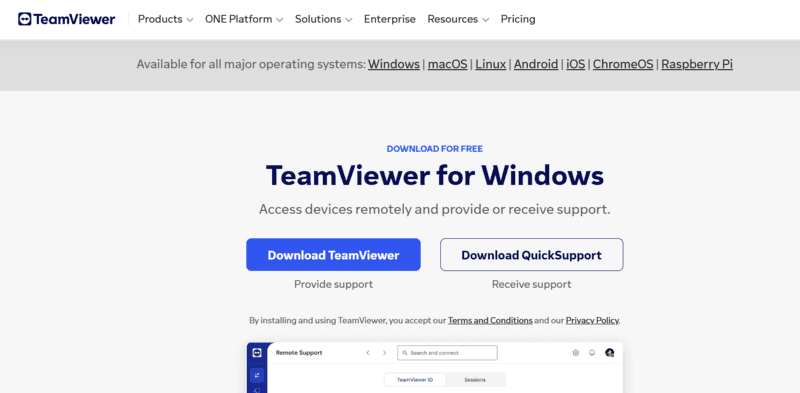
TeamViewer: Nhiều tính năng nhưng chuyển file chậm, giao diện di động vụng về
Kết nối chậm (phiên bản miễn phí), đặc biệt là trên di động.
Máy tính để bàn đầy đủ chức năng với chức năng “gửi tin nhắn” sau mỗi phiên.

Chuyển file chậm chạp: 5GB mất hơn 30 phút.
Điều khiển chuột di động thiếu tích hợp cảm ứng; phím tắt sao chép/dán bị chôn lấp.

Cảnh báo pop-up sử dụng thương mại khó chịu trên cả hai thiết bị sau mỗi phiên.

AnyDesk: Chuyển file nhanh, vấn đề nhập liệu tiếng Trung
Không cần cài đặt cho máy tính để bàn, nhưng giao diện cảm thấy lỗi thời.
Tốc độ chuyển file nhanh chóng rival DeskIn, nhưng hình ảnh bị lag (độ trễ 1-2 giây).
Menu di động ẩn ở cạnh bên phải (thiết kế tối giản).
Các lỗi nhập liệu: iOS gặp khó khăn với IME tiếng Trung bên thứ ba; Android thiếu tính năng xóa.

Parsec: Tuyệt vời cho trò chơi, nhưng vô dụng cho công việc
Không hỗ trợ tiếng Trung, nhưng cài đặt đơn giản.
Phiên bản máy tính để bàn thiếu các tính năng cơ bản (không có chuyển file).
Ứng dụng di động (chỉ Android) rất đơn giản: không có phóng to, không có nhập liệu tiếng Trung.
Thích hợp cho trò chơi (mượt mà, băng thông tùy chỉnh), nhưng tránh nếu bạn cần làm việc.

So sánh kịch bản trò chơi từ xa
Đối với phần trò chơi, tôi đã thử nghiệm "sử dụng MacBook để chơi Diablo IV từ xa trên PC" để đánh giá chất lượng và độ trễ kết nối của mỗi phần mềm. Tình huống này phản ánh trường hợp sử dụng thỉnh thoảng của tôi: lấy một chiếc MacBook Pro ra để làm việc và muốn chơi trong các giờ giải lao nếu máy tính để bàn của tôi đang bật.
TeamViewer
Đầu tiên, tôi đã thử nghiệm TeamViewer. Mặc dù có thể chơi được, nhưng nó cảm thấy rõ ràng chậm chạp, với các chuyển động bị trễ và thỉnh thoảng bị đông đơ màn hình, dẫn đến trải nghiệm không tốt. Việc cài đặt chất lượng ở chế độ "Tốc độ ưu tiên" không cải thiện được hiệu suất.
DeskIn
Kế tiếp, DeskIn đã gây ấn tượng với tôi. Hình ảnh sắc nét, và gameplay vẫn mượt mà trong 30 phút. Nó cũng hiển thị thông số FPS và độ trễ theo thời gian thực. DeskIn cung cấp tùy chọn 4K 60fps và 144fps (phiên bản có trả phí), điều này sẽ nâng cao hơn nữa trải nghiệm chơi game.

AnyDesk
AnyDesk cung cấp chất lượng hình ảnh tốt nhất trong số năm phần mềm và gameplay mượt mà. Tuy nhiên, tôi nhận thấy một vấn đề nghiêm trọng: mức sử dụng CPU của PC từ xa tăng vọt lên 70-80%, gây ra tiếng ồn quạt lớn và dấy lên lo ngại về áp lực lâu dài lên phần cứng.

Awesun
Awesun hoạt động mượt mà ngoại trừ một số gián đoạn ngắn trong các chuyển cảnh (ví dụ: quay lại thị trấn). Phiên bản Mac của nó gặp vấn đề về độ ổn định—bị treo sau một phiên và yêu cầu cài đặt lại. Nó cũng thiếu âm thanh.

Parsec
Parsec xuất sắc trong trò chơi, mang đến hiệu suất hoàn hảo cho Diablo IV với các tùy chọn băng thông có thể điều chỉnh để giảm thiểu độ trễ. Nó cũng hỗ trợ phòng chơi nhiều người. Nếu chơi game là mục tiêu chính của bạn, Parsec là lựa chọn không thể chối từ.

So sánh phát trực tuyến video từ xa
Phát video qua các bài kiểm tra điện thoại đến PC để đánh giá độ trễ của mỗi phần mềm. Tôi đã thử nghiệm YouTube, Netflix và các file cục bộ. Ba phần mềm hoạt động mượt mà: TeamViewer, DeskIn, và Parsec, nhưng có một số vấn đề.
TeamViewer: Phát lại mượt mà nhưng âm lượng cực kỳ thấp (không có tùy chọn tắt tiếng), buộc âm thanh phát ra nếu PC phát âm thanh.
Parsec: Tốc độ và âm thanh tuyệt vời, nhưng di động thiếu tính năng phóng to (chỉ toàn màn hình).
DeskIn: Đồng bộ hoàn hảo và không gặp vấn đề.
AnyDesk: Âm thanh di động bị hỏng (iOS/Android)—không có âm thanh mặc dù đã thay đổi cài đặt.
Awesun: Âm thanh bị rời rạc và hình ảnh không đồng bộ, cho thấy chất lượng kết nối kém.
Cách chọn phần mềm máy tính từ xa
Ưu tiên tính năng (chuyển file, giao tiếp thiết bị, dễ dàng sử dụng bàn phím) và kết nối độ trễ thấp. Các công cụ bổ sung như mở rộng màn hình và cuộc gọi bằng giọng nói của DeskIn tăng giá trị. Hỗ trợ đa nền tảng (iOS/Android/Windows/Mac) đảm bảo tính linh hoạt cho tương lai.
Kết luận
Tôi đã kỳ vọng TeamViewer nổi tiếng sẽ thống trị, nhưng thử nghiệm đã phát hiện ra những thiếu sót. DeskIn nổi lên như lựa chọn hàng đầu nhờ hiệu suất cân bằng, sự ổn định và nhiều tính năng. Nếu bạn đang tìm kiếm phần mềm từ xa đáng tin cậy, hãy thử DeskIn!
Vì yêu cầu công việc, tôi thường xuyên sử dụng phần mềm máy tính từ xa. Tôi đã dành thời gian thử nghiệm năm tùy chọn miễn phí: TeamViewer, DeskIn, AnyDesk, Awesun, và Parsec. Dưới đây, tôi chia sẻ hiệu suất của chúng trong công việc từ xa, trò chơi, và phát trực tuyến video để giúp những người đang tìm kiếm công cụ từ xa đáng tin cậy. Hầu hết các bài kiểm tra được thực hiện thông qua kết nối điện thoại đến PC và MacBook đến PC.
Bảng so sánh đặc điểm phần mềm máy tính từ xa miễn phí
Lưu ý: "bốn nền tảng chính" đề cập đến Windows, Mac, iOS và Android.
Công việc từ xa: DeskIn vượt trội hơn Awesun
Trong năm lựa chọn, chỉ có DeskIn và Awesun cho phép sử dụng thương mại trong các phiên bản miễn phí của chúng. TeamViewer, AnyDesk và Parsec yêu cầu nâng cấp trả phí. Vì vậy, tôi tập trung vào DeskIn và Awesun cho các tình huống làm việc.
Hoạt động cơ bản: DeskIn cảm thấy trực quan hơn
Cả DeskIn và Awesun đều có giao diện máy tính để bàn gọn gàng, với truy cập nhanh vào các tính năng như trò chuyện văn bản và chuyển đổi màn hình đôi. Tuy nhiên, DeskIn cung cấp kết nối nhanh hơn và ổn định hơn, trong khi Awesun cảm thấy chậm chạp hơn.
Độ nhạy của cuộn chuột trên Awesun quá thấp, làm cho việc điều hướng trở nên khó khăn hơn so với việc cuộn mượt mà của DeskIn.
Phiên bản Máy tính/Điện thoại của DeskIn
Ứng dụng di động của DeskIn là ứng dụng thân thiện với người dùng nhất mà tôi đã thử. Chế độ chạm + chuột hỗn hợp và các cử chỉ (ví dụ: chuyển đổi cửa sổ, duyệt web) hoạt động liền mạch. Phản hồi màn hình nhanh như chớp, ngay cả trên điện thoại.
Tính năng bổ sung: nhắn tin/giọng nói với các thiết bị từ xa và một phím tắt Chế độ xem Tác vụ để chuyển đổi nhanh giữa các cửa sổ.
Ứng dụng di động của Awesun cũng có chế độ hỗn hợp và một menu một lớp (thân thiện với điện thoại). Tuy nhiên, nó thiếu phím tắt Chế độ xem Tác vụ và các công cụ giao tiếp (ví dụ: cuộc gọi giọng nói), buộc người dùng phải phụ thuộc vào các ứng dụng bên thứ ba để cộng tác.
Chuyển file: DeskIn không có giới hạn về tốc độ/ kích thước
Chuyển file di động của DeskIn bị tính phí (máy tính để bàn là miễn phí). Tốc độ rất ấn tượng: 5GB qua Wi-Fi mất khoảng 3 phút. Awesun cho phép chuyển file miễn phí trên tất cả các nền tảng nhưng giới hạn file ở mức 1GB, hạn chế khả năng sử dụng.
Nhập liệu từ xa: Các phím tắt của DeskIn nổi bật
Đối với phần gõ văn bản, các phiên bản máy tính để bàn khá tương tự, vì vậy tôi sẽ không so sánh chúng. Thay vào đó, tôi sẽ chia sẻ trải nghiệm khi sử dụng điện thoại để điều khiển máy tính từ xa.
Cả phiên bản di động của DeskIn và Awesun đều có bàn phím chiếm khoảng một nửa màn hình, giúp việc gõ văn bản tương đối thoải mái.
Tuy nhiên, DeskIn có lợi thế lớn: nó cho phép người dùng ghim các phím tắt thường dùng (như sao chép và dán) trên bàn phím hoặc trên màn hình từ xa. Điều này giúp dễ dàng sao chép nội dung mong muốn trong khi gõ và dán ở nơi cần thiết. Người dùng cũng có thể tùy chỉnh các phím tắt:
Awesun, ngược lại, giấu các phím tắt trong một menu. Khi tôi muốn sao chép nội dung đã chọn, tôi cần chuyển sang menu phím tắt, nhấn sao chép, rồi chuyển trở lại bàn phím. Điều tương tự cũng áp dụng cho việc dán, làm cho quá trình này trở nên khá c cumbersome. Thêm vào đó, sau khi sử dụng một phím tắt, việc quay lại bàn phím yêu cầu nhấn "Mặc định" thay vì "X." Cái tên này gây nhầm lẫn, và tôi thường nhấn nhầm vào nút sai lúc đầu, điều này thật sự rất khó chịu.
Bảy ứng dụng khác được đánh giá ngắn gọn:
TeamViewer: Nhiều tính năng nhưng chuyển file chậm, giao diện di động vụng về
Kết nối chậm (phiên bản miễn phí), đặc biệt là trên di động.
Máy tính để bàn đầy đủ chức năng với chức năng “gửi tin nhắn” sau mỗi phiên.
Chuyển file chậm chạp: 5GB mất hơn 30 phút.
Điều khiển chuột di động thiếu tích hợp cảm ứng; phím tắt sao chép/dán bị chôn lấp.
Cảnh báo pop-up sử dụng thương mại khó chịu trên cả hai thiết bị sau mỗi phiên.
AnyDesk: Chuyển file nhanh, vấn đề nhập liệu tiếng Trung
Không cần cài đặt cho máy tính để bàn, nhưng giao diện cảm thấy lỗi thời.
Tốc độ chuyển file nhanh chóng rival DeskIn, nhưng hình ảnh bị lag (độ trễ 1-2 giây).
Menu di động ẩn ở cạnh bên phải (thiết kế tối giản).
Các lỗi nhập liệu: iOS gặp khó khăn với IME tiếng Trung bên thứ ba; Android thiếu tính năng xóa.
Parsec: Tuyệt vời cho trò chơi, nhưng vô dụng cho công việc
Không hỗ trợ tiếng Trung, nhưng cài đặt đơn giản.
Phiên bản máy tính để bàn thiếu các tính năng cơ bản (không có chuyển file).
Ứng dụng di động (chỉ Android) rất đơn giản: không có phóng to, không có nhập liệu tiếng Trung.
Thích hợp cho trò chơi (mượt mà, băng thông tùy chỉnh), nhưng tránh nếu bạn cần làm việc.
So sánh kịch bản trò chơi từ xa
Đối với phần trò chơi, tôi đã thử nghiệm "sử dụng MacBook để chơi Diablo IV từ xa trên PC" để đánh giá chất lượng và độ trễ kết nối của mỗi phần mềm. Tình huống này phản ánh trường hợp sử dụng thỉnh thoảng của tôi: lấy một chiếc MacBook Pro ra để làm việc và muốn chơi trong các giờ giải lao nếu máy tính để bàn của tôi đang bật.
TeamViewer
Đầu tiên, tôi đã thử nghiệm TeamViewer. Mặc dù có thể chơi được, nhưng nó cảm thấy rõ ràng chậm chạp, với các chuyển động bị trễ và thỉnh thoảng bị đông đơ màn hình, dẫn đến trải nghiệm không tốt. Việc cài đặt chất lượng ở chế độ "Tốc độ ưu tiên" không cải thiện được hiệu suất.
DeskIn
Kế tiếp, DeskIn đã gây ấn tượng với tôi. Hình ảnh sắc nét, và gameplay vẫn mượt mà trong 30 phút. Nó cũng hiển thị thông số FPS và độ trễ theo thời gian thực. DeskIn cung cấp tùy chọn 4K 60fps và 144fps (phiên bản có trả phí), điều này sẽ nâng cao hơn nữa trải nghiệm chơi game.
AnyDesk
AnyDesk cung cấp chất lượng hình ảnh tốt nhất trong số năm phần mềm và gameplay mượt mà. Tuy nhiên, tôi nhận thấy một vấn đề nghiêm trọng: mức sử dụng CPU của PC từ xa tăng vọt lên 70-80%, gây ra tiếng ồn quạt lớn và dấy lên lo ngại về áp lực lâu dài lên phần cứng.
Awesun
Awesun hoạt động mượt mà ngoại trừ một số gián đoạn ngắn trong các chuyển cảnh (ví dụ: quay lại thị trấn). Phiên bản Mac của nó gặp vấn đề về độ ổn định—bị treo sau một phiên và yêu cầu cài đặt lại. Nó cũng thiếu âm thanh.
Parsec
Parsec xuất sắc trong trò chơi, mang đến hiệu suất hoàn hảo cho Diablo IV với các tùy chọn băng thông có thể điều chỉnh để giảm thiểu độ trễ. Nó cũng hỗ trợ phòng chơi nhiều người. Nếu chơi game là mục tiêu chính của bạn, Parsec là lựa chọn không thể chối từ.
So sánh phát trực tuyến video từ xa
Phát video qua các bài kiểm tra điện thoại đến PC để đánh giá độ trễ của mỗi phần mềm. Tôi đã thử nghiệm YouTube, Netflix và các file cục bộ. Ba phần mềm hoạt động mượt mà: TeamViewer, DeskIn, và Parsec, nhưng có một số vấn đề.
TeamViewer: Phát lại mượt mà nhưng âm lượng cực kỳ thấp (không có tùy chọn tắt tiếng), buộc âm thanh phát ra nếu PC phát âm thanh.
Parsec: Tốc độ và âm thanh tuyệt vời, nhưng di động thiếu tính năng phóng to (chỉ toàn màn hình).
DeskIn: Đồng bộ hoàn hảo và không gặp vấn đề.
AnyDesk: Âm thanh di động bị hỏng (iOS/Android)—không có âm thanh mặc dù đã thay đổi cài đặt.
Awesun: Âm thanh bị rời rạc và hình ảnh không đồng bộ, cho thấy chất lượng kết nối kém.
Cách chọn phần mềm máy tính từ xa
Ưu tiên tính năng (chuyển file, giao tiếp thiết bị, dễ dàng sử dụng bàn phím) và kết nối độ trễ thấp. Các công cụ bổ sung như mở rộng màn hình và cuộc gọi bằng giọng nói của DeskIn tăng giá trị. Hỗ trợ đa nền tảng (iOS/Android/Windows/Mac) đảm bảo tính linh hoạt cho tương lai.
Kết luận
Tôi đã kỳ vọng TeamViewer nổi tiếng sẽ thống trị, nhưng thử nghiệm đã phát hiện ra những thiếu sót. DeskIn nổi lên như lựa chọn hàng đầu nhờ hiệu suất cân bằng, sự ổn định và nhiều tính năng. Nếu bạn đang tìm kiếm phần mềm từ xa đáng tin cậy, hãy thử DeskIn!