Remote work didn’t just change how teams collaborate: it transformed how game testing gets done.
Today’s QA teams are global, developers work across time zones, and playtests happen far beyond a single studio. That makes screen sharing no longer optional, but essential. The challenge is that most remote tools weren’t built for real gameplay. They lag, drop frames, and blur the details QA teams rely on.
DeskIn is different. It’s engineered for high-FPS visuals, ultra-low latency, and accurate gameplay feedback, making it a modern screen-sharing solution built specifically for remote game testing and remote gameplay.
Let’s break down why DeskIn is quickly becoming the best screen-sharing tool for game developers, and why tools like AnyDesk, TeamViewer, and even Parsec fall short for serious QA work.

Real Use Cases in Game QA & Development, Why Need a Screen Sharing Tool?
Remote screen sharing has moved from a "nice-to-have" to a critical, indispensable tool in modern game Quality Assurance (QA). Its adoption is driven by fundamental shifts in how games are developed, tested, and collaborated on.
Here’s a breakdown of why it's now essential:
Real-time bug reproduction
QA shares live gameplay while developers observe inputs and system behavior, allowing issues to be reproduced and fixed immediately: no back-and-forth recordings required.
VFX and visual review
Teams review lighting, shaders, and effects with crisp color accuracy during screen sharing for game testing, without compression hiding defects.
Remote prototype playtesting
Testers play early builds remotely, enabling fast feedback without large downloads or complex setup using remote game testing software.
Cross-play testing (mobile & PC)
Teams can test mobile and PC gameplay side by side, mirroring mobile screens to desktop while validating controls, UI behavior, and performance across platforms, an essential use case for remote QA tools.
Animation timing review
Animation teams benefit from high-FPS streaming to review movement and timing frame by frame. Subtle issues in transitions, hit reactions, or camera motion are easier to spot when playback is smooth and accurate.
Multiplayer latency testing
QA can conduct latency and synchronization tests while developers watch live sessions. This helps teams identify network-related issues faster using effective remote dev tools.
Secure external QA access
External QA partners can securely access builds and testing environments through DeskIn, making collaboration smoother while keeping pre-release content protected.

Modern Tools Elevating the Practice
Today’s game testing workflows rely on tools that go far beyond simple screen viewing solutions like Zoom. Modern remote platforms such as DeskIn, AnyDesk, TeamViewer, and Parsec introduce capabilities specifically designed to support game QA.
Choosing the right tool comes down to which features best support real-time testing and collaboration, including:
High frame rate and low latency — critical for spotting fast-paced visual bugs and timing-sensitive issues.
Remote input control — allows developers to take over instantly and test hypotheses without lengthy explanations.
Built-in file transfer — enables quick delivery of new builds, patches, or configuration files.
Real-time screen mirroring — makes it easy to share bug reproduction steps for immediate analysis.
Audio calls and whiteboard tools — support clear communication and visual guidance without relying on third-party apps.
Together, these features transform remote sessions into efficient, collaborative QA environments, bringing teams closer to the feel of in-studio testing.
Which Screen Sharing Tool is Best for Game QA
Choosing the right screen sharing tool can make the difference between a lengthy, ambiguous bug report and a swift, precise fix.
For Game QA, the ideal solution must go beyond basic screen viewing; it needs to deliver high visual fidelity, ultra-low latency, cross-platform compatibility, and interactive control to keep up with the real-time, detail-sensitive nature of game testing.
Below, we break down what to look for and compare top contenders shaping how modern game teams test.
DeskIn
DeskIn is designed around real game testing workflows, not just office tasks. Its features focus on what QA teams and developers actually need: low latency, high FPS, visual accuracy, and smooth collaboration.
Ultra-Low Latency for Accurate Gameplay
High-FPS Streaming: Up to 2K240FPS & 4K60FPS
Screen Mirroring, Sharing, and Extension for Flexible Testing
DeskIn screen extension between desktop and laptop supports multiple operating systems
Color Accuracy & Crisp Visuals
DeskIn supports 4:4:4 true color mode, preserves visual clarity and color accuracy, which is critical for inspecting textures, lighting, shaders, and VFX. Multi-Device, Cross-System Testing
Modern studios work across platforms.
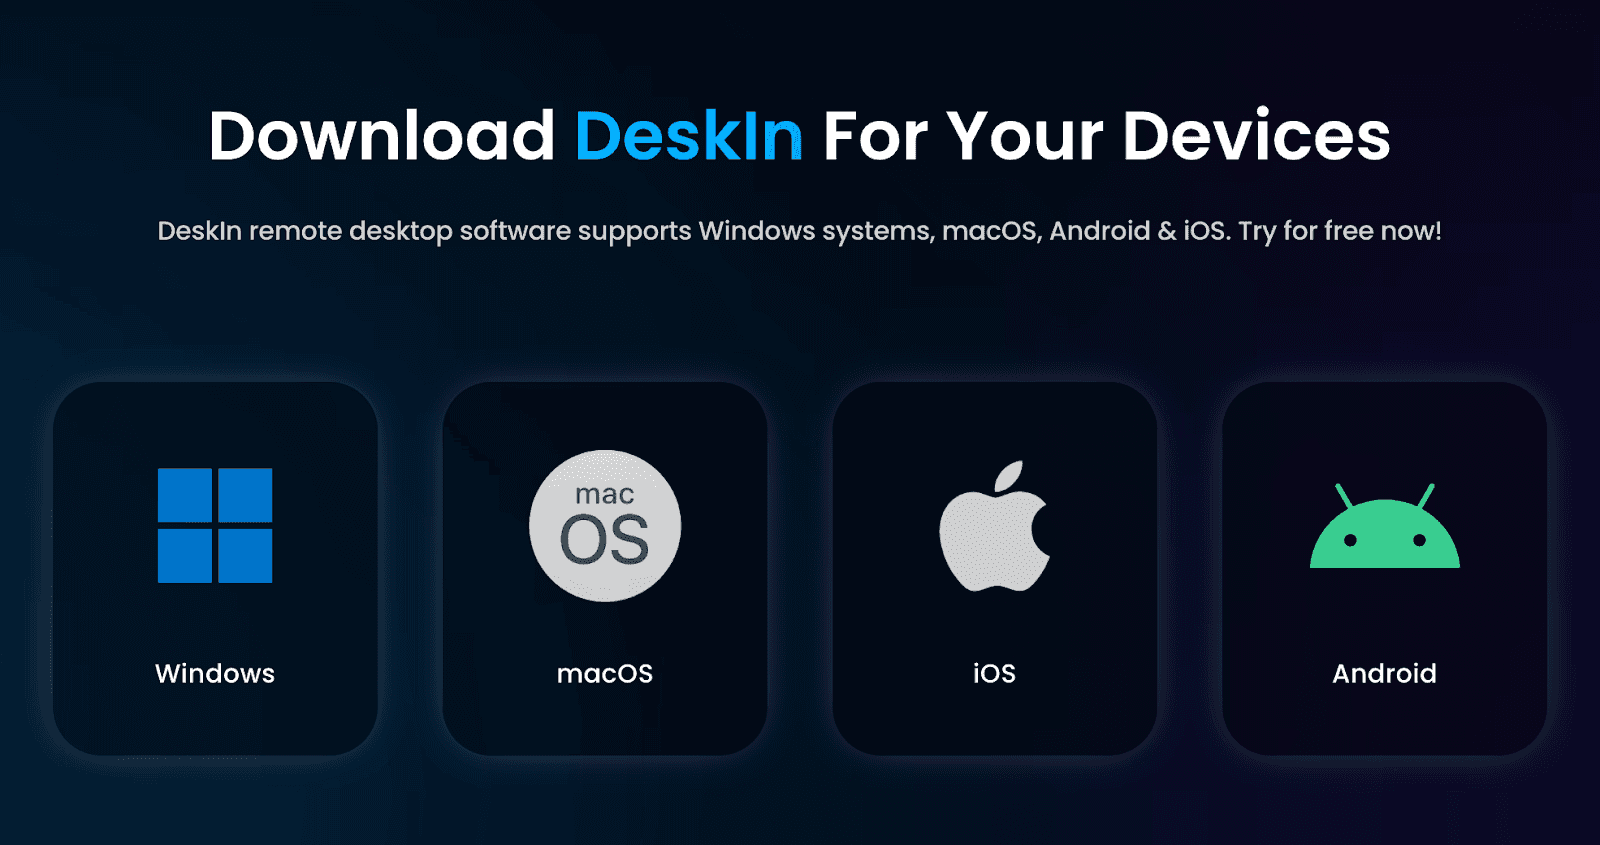
DeskIn supports Windows, macOS, Chromebook, iOS, and Android, enabling seamless cross-system testing.
Remote Mobile Game Testing (Unique Advantage)
Mobile screens can be mirrored and accessed remotely for iOS and Android testing.
Remote File Transfer for Builds + Logs
Built-in file transfer speeds of up to 12MB/s, allowing teams to quickly share builds, crash logs, and save files during QA sessions.
External Controller & Peripheral Support (Xbox and More)
DeskIn supports external device adaptation, including Xbox controllers and other common game peripherals, allowing QA teams to test real input behavior and control mapping during game testing.
Remote Terminal Access for Faster Debugging
Developers and QA can use command-line tools remotely without interrupting gameplay, making it easier to pull logs, run scripts, and validate fixes in real time during game testing.
Stable Performance Under Heavy Load
Powered by 200+ global nodes and smart network navigation, DeskIn maintains smooth, reliable performance even during GPU-intensive scenes, multiplayer testing, or large-scale playtests.
Whether you’re reproducing a graphical glitch, debugging a physics bug, or collaborating across continents, DeskIn is the best tool for turning remote QA into a seamless extension of the development floor. Try DeskIn today and experience high-FPS streaming, low latency, and crystal-clear visuals.

AnyDesk
AnyDesk is primarily designed for IT support and remote troubleshooting, which limits its effectiveness for screen sharing for game testing.
Cross-platform compatibility: Supports Windows, macOS, Linux (Ubuntu, Debian, RHEL, SUSE, Mint), Android, iOS/iPadOS, plus specialized platforms like Raspberry Pi and ChromeOS.
Image quality & FPS: Supports up to 60 FPS, which is often insufficient for reviewing fast animations, camera motion, or combat flow.
Latency: Acceptable for support tasks (typically around 80–120ms), but inconsistent for timing-sensitive gameplay such as combat, physics interactions, or input validation.
Network stability: Generally stable for light workloads, but performance degrades under GPU-heavy scenes.
External device adaptation: Does not support game controllers, limiting accurate input and control testing.
Interactive features: Basic remote control; lacks advanced collaboration features tailored for QA.
File transfer speed: Supported, but slower and less integrated into rapid QA iteration cycles.
Recommended Read:
Why Should You Choose DeskIn Remote Desktop Instead Of Anydesk?
TeamViewer
TeamViewer is a strong enterprise remote access tool, but its business-first design creates friction for real-time game QA.
Cross-platform compatibility: Supports Windows, macOS, Linux (including Ubuntu, Debian, Raspberry Pi), Android, iOS, and iPadOS.
Image quality & FPS: Resolution is auto-adjusted based on network conditions, which can reduce clarity during fast gameplay or visual reviews.
Latency: Higher baseline latency, which becomes obvious during fast-paced or competitive gameplay testing.
Network stability: Stable for meetings and management tasks, but less reliable during long playtests or open-world stress testing.
External device adaptation: Does not support game controllers, limiting realism for gameplay input testing.
Interactive features: Strong for meetings and presentations, but lacks QA-focused interaction like seamless gameplay takeover.
File transfer speed: Supported at low speed, with a single file size limited to under 4GB, which can be restrictive for large builds.
Recommended Read:
TeamViewer Alternatives for People Who Just Want Something Simple
Parsec
Parsec comes closer to gaming needs, but still has gaps for structured QA and dev pipelines.
Cross-platform compatibility: Strong on Windows and macOS; mobile and broader cross-system workflows are more limited.
Image quality & FPS: Capable of high FPS (Max at 4K60FPS) streaming, but visual quality and color fidelity depend heavily on manual configuration.
Latency: Low latency (50-80 ms) when well-tuned, but performance varies based on network setup and user expertise.
Network stability: Performs well in controlled environments, but requires tuning for consistent results across teams.
External device adaptation: Supports controllers, but setup can vary and may require additional configuration.
Interactive features: Focused on gameplay streaming rather than full QA collaboration (logs, builds, multi-device testing).
File transfer speed: Does not support built-in file transfer, requiring third-party tools for builds and logs.
Recommended Read:
Why DeskIn is the Best Parsec Alternative for Gamers
Individually, these tools work. But for teams that need reliable, accurate, and efficient screen sharing for game testing, these gaps add friction fast.
If your QA team needs accuracy, speed, and stability, not just remote access, DeskIn is the upgrade that makes the difference.

How to Set Up DeskIn for Game Testing
Getting started with DeskIn for game testing takes just a few minutes: no complex setup or technical configuration required.

Install DeskIn on both devices
Download and install DeskIn on the test machine and the device used by QA or developers.
Log in on both devices
Sign in to your DeskIn account on both devices
Start a secure remote session
Select the test device, click connect, and enter the password to begin a secure, low-latency session.
Use screen sharing during testing
Click the screen mgt in the left toolbar, select 'Mirror My Screen' feature.

FAQ
Can I test fast-paced or competitive games remotely?
Yes. DeskIn’s ultra-low latency and high-FPS streaming allow accurate testing of FPS, fighting games, and other timing-sensitive gameplay.
Is screen sharing reliable for VFX, rendering, or art QA?
Yes. DeskIn supports 4:4:4 true color mode, ensures color accuracy and sharp visuals, making it suitable for reviewing textures, lighting, shaders, and effects without compression blur.
Can I use DeskIn to test mobile games remotely?
Yes. DeskIn supports wireless screen mirroring for iOS and Android, enabling mobile game testing without cables or complex setup.
Does DeskIn support file transfers for build sharing?
Yes. DeskIn includes built-in file transfer up to 12MB/s for sharing builds, logs, and save files during QA sessions.
Is DeskIn secure enough for pre-release testing?
Yes, DeskIn uses AES-256 encryption (bank-level security) to protect remote sessions and file transfers for confidential, pre-release workflows.
Better Game Testing Starts With DeskIn
Traditional remote desktop tools were built for meetings, support, and office workflows: not for real game testing. When QA teams rely on tools that lag, drop frames, or blur visuals, critical gameplay issues slip through, and feedback loses accuracy.
DeskIn changes that. With gaming-grade performance, ultra-low latency, high-FPS screen sharing, and flexible cross-device testing, it gives QA and development teams a clear, responsive view of gameplay—no matter where they’re working from. From PC and mobile testing to art review and multiplayer validation, DeskIn supports modern remote game testing without compromise.
Start free with DeskIn today and see how smooth, accurate, and effortless remote game testing can be.


