using MacBook as second monitor for Windows PC

Search Docs…

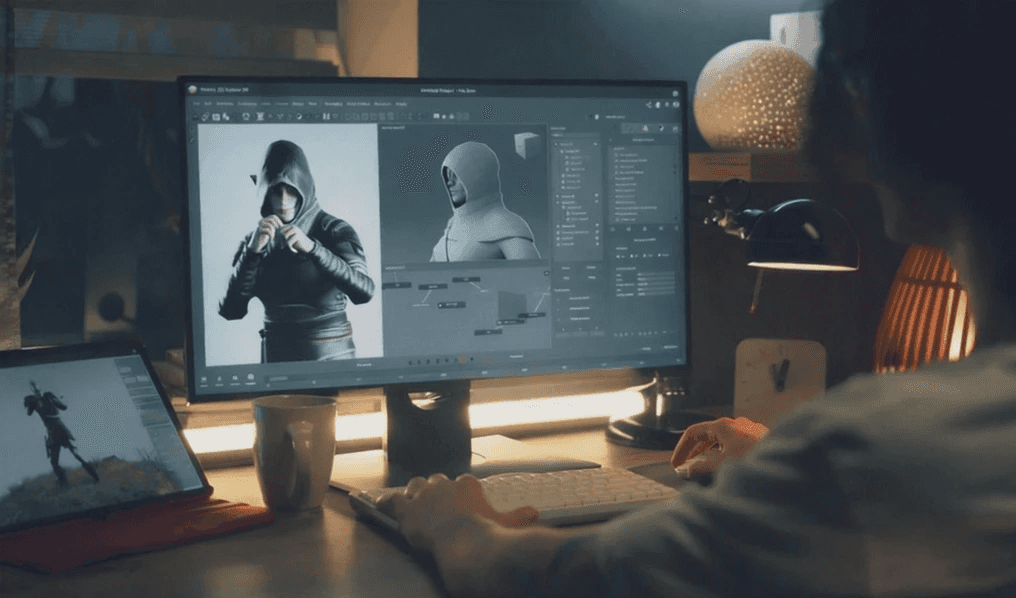
In the era of remote work and multitasking, having more screen space is no longer a luxury it's a productivity powerhouse. If you've ever asked, "Can I use my Mac as a second monitor for my PC?" the answer is yes. And it’s easier than you might expect.

Whether you're dusting off an old MacBook or repurposing your iMac, turning your Mac into a second display can save you money and optimize your workspace. As someone who manages multiple projects daily, I’ve experienced firsthand how this setup can transform your workflow.

Method 1: The Easiest Way — Using DeskIn

If you’re looking for a plug-and-play solution, DeskIn is your best bet. It’s a cross-platform application that lets you extend or mirror your PC display onto your Mac wirelessly — with virtually no lag.

👍 Why DeskIn is a Game-Changer:

Cross-platform: Works seamlessly between Windows and macOS
Wireless: No cables needed — just connect both devices to the same network
Low latency: Smooth, responsive experience with minimal delay

A 2023 study showed that dual-monitor setups can increase productivity by up to 42%. DeskIn lets you unlock those gains — without buying extra hardware.

How to Use DeskIn: Step-by-Step Tutorial

Step 1: Install DeskIn on Both Devices

On your PC:

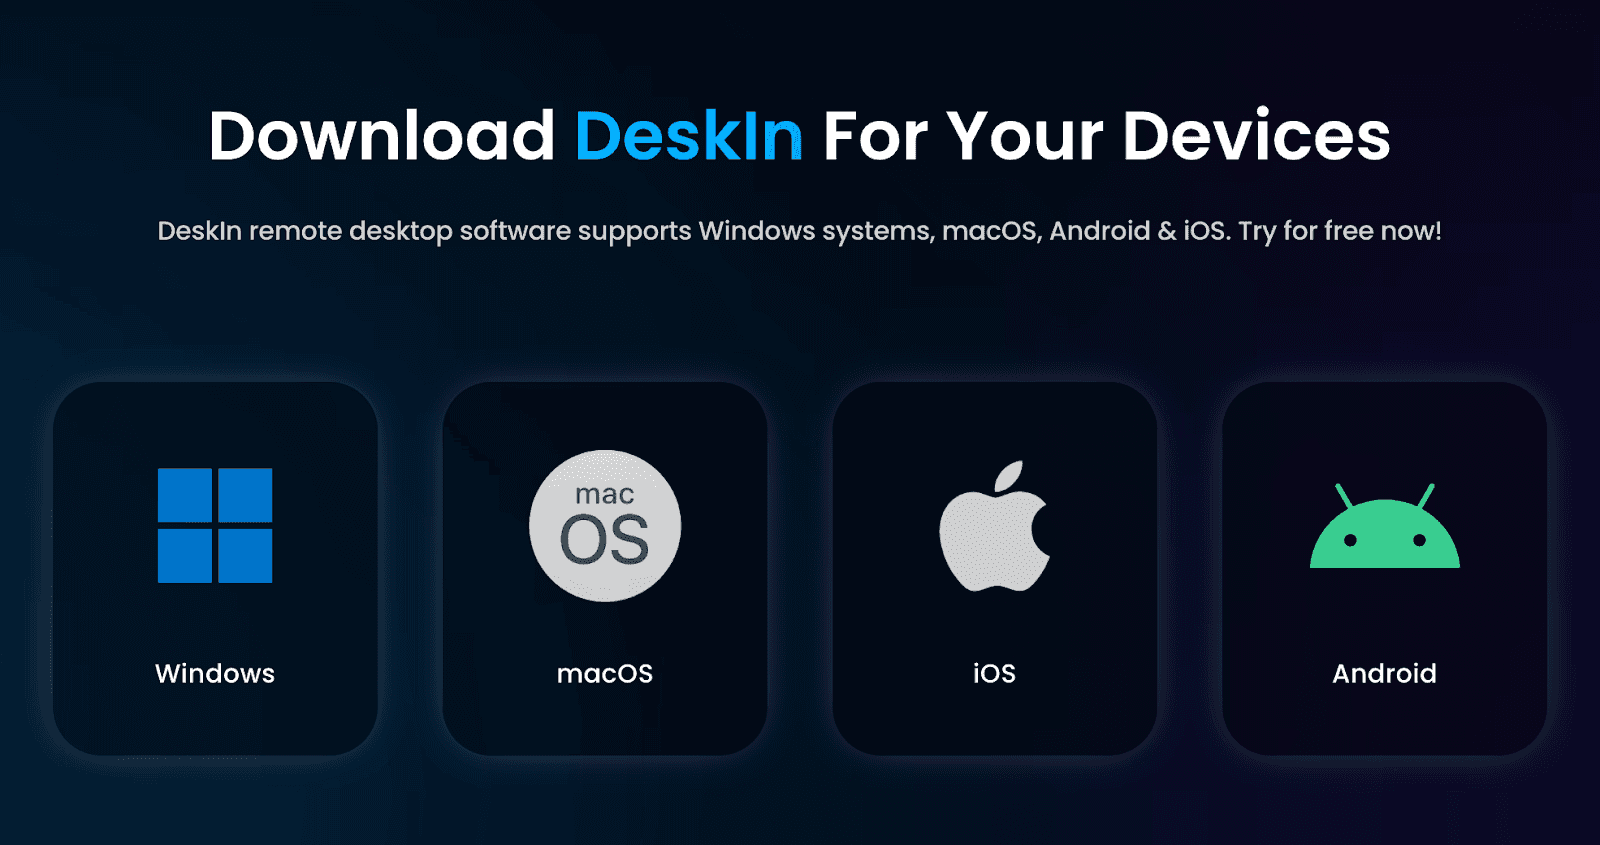
  • Click here to download DeskIn , make sure you choose the Windows version

  • Follow the installation wizard

  • Launch DeskIn and log in or create a free account

On your Mac:

  • Download the Mac version of DeskIn from the same site

  • Install and open the app

  • Log in using the same account

Step 2: Connect Your Devices

  • Ensure both devices are connected to the internet

  • On your Mac, go to "Screen Mgt" in DeskIn

  • Click mirror my screen or extend my screen

choose mirror or extend screen
  • Your PC will appear in the list — click to connect

  • Accept the connection request on your Mac

Step 3: Configure Display Settings

  • Choose between "Mirror Screen" or "Extend Screen"

  • Choose your screen size, resolution, and frame rate

  • Adjust picture quality as needed

setting between Mac and PC

👀 You may also like to read:

Method 2: Wired Connection (HDMI/Adapter Solutions)

Prefer a physical connection? While most Macs don’t support HDMI input directly, there are workarounds using adapters like USB-C to HDMI or VGA to HDMI.

 Connection methods to use Mac as second monitor for PC with HDMI

Before You Begin:

  • Identify the ports on your Mac and PC

  • Use the appropriate adapters (MacBooks may require a USB-C Digital AV Multiport Adapter)

👉 How to Set It Up:

  1. Plug the HDMI/adapter into your PC

  2. Connect the other end to your MacBook

  3. Enable screen sharing on your Windows PC

Note: Not all Macs support HDMI input, so this method may be limited based on your model. It's most feasible with a Mac Mini, and trickier with MacBook or iMac without third-party software.

Troubleshooting Common Issues

Even with the best tools, hiccups can happen. Here’s how to fix the most common problems:

  1. Can't Connect?

  • Double-check Wi-Fi connection on both devices

  • Temporarily disable firewall or antivirus software

  • Restart both the DeskIn app and your devices

  • Make sure DeskIn is up-to-date

  1. Lag or Delay?

  • Ensure a strong Wi-Fi signal

  • Close bandwidth-heavy apps like video calls or downloads

  • Lower display quality settings in DeskIn

  • Consider switching to a wired connection

  1. Display Looks Off?

  • Check your Mac’s native resolution

  • Adjust scaling in both DeskIn and Windows display settings

  • Try using Mac in clamshell mode (MacBook lid closed with external keyboard/mouse)

Conclusion: Boost Productivity with the Setup You Already Own

Turning your Mac into a second monitor for your PC

Turning your Mac into a second monitor for your PC isn’t just a clever workaround. It’s a practical, budget-friendly way to increase your productivity and make the most of the devices you already have. With tools like DeskIn, setting up a dual-screen workspace becomes fast and accessible, even for those with minimal technical experience.

Whether you're working on creative projects, managing spreadsheets, or simply trying to reduce window-switching fatigue, extending your display can significantly improve your workflow. So instead of letting that Mac gather dust, turn it into a powerful extension of your workspace and enjoy a smoother, more efficient daily routine.

 Take Action Now: Head to DeskIn.io, download the app, and give your workspace the dual-screen upgrade it deserves. Your future productive self will thank you.

Click here to download DeskIn

In the era of remote work and multitasking, having more screen space is no longer a luxury it's a productivity powerhouse. If you've ever asked, "Can I use my Mac as a second monitor for my PC?" the answer is yes. And it’s easier than you might expect.

Whether you're dusting off an old MacBook or repurposing your iMac, turning your Mac into a second display can save you money and optimize your workspace. As someone who manages multiple projects daily, I’ve experienced firsthand how this setup can transform your workflow.

Method 1: The Easiest Way — Using DeskIn

If you’re looking for a plug-and-play solution, DeskIn is your best bet. It’s a cross-platform application that lets you extend or mirror your PC display onto your Mac wirelessly — with virtually no lag.

👍 Why DeskIn is a Game-Changer:

Cross-platform: Works seamlessly between Windows and macOS
Wireless: No cables needed — just connect both devices to the same network
Low latency: Smooth, responsive experience with minimal delay

A 2023 study showed that dual-monitor setups can increase productivity by up to 42%. DeskIn lets you unlock those gains — without buying extra hardware.

How to Use DeskIn: Step-by-Step Tutorial

Step 1: Install DeskIn on Both Devices

On your PC:

  • Click here to download DeskIn , make sure you choose the Windows version

  • Follow the installation wizard

  • Launch DeskIn and log in or create a free account

On your Mac:

  • Download the Mac version of DeskIn from the same site

  • Install and open the app

  • Log in using the same account

Step 2: Connect Your Devices

  • Ensure both devices are connected to the internet

  • On your Mac, go to "Screen Mgt" in DeskIn

  • Click mirror my screen or extend my screen

choose mirror or extend screen
  • Your PC will appear in the list — click to connect

  • Accept the connection request on your Mac

Step 3: Configure Display Settings

  • Choose between "Mirror Screen" or "Extend Screen"

  • Choose your screen size, resolution, and frame rate

  • Adjust picture quality as needed

setting between Mac and PC

👀 You may also like to read:

Method 2: Wired Connection (HDMI/Adapter Solutions)

Prefer a physical connection? While most Macs don’t support HDMI input directly, there are workarounds using adapters like USB-C to HDMI or VGA to HDMI.

 Connection methods to use Mac as second monitor for PC with HDMI

Before You Begin:

  • Identify the ports on your Mac and PC

  • Use the appropriate adapters (MacBooks may require a USB-C Digital AV Multiport Adapter)

👉 How to Set It Up:

  1. Plug the HDMI/adapter into your PC

  2. Connect the other end to your MacBook

  3. Enable screen sharing on your Windows PC

Note: Not all Macs support HDMI input, so this method may be limited based on your model. It's most feasible with a Mac Mini, and trickier with MacBook or iMac without third-party software.

Troubleshooting Common Issues

Even with the best tools, hiccups can happen. Here’s how to fix the most common problems:

  1. Can't Connect?

  • Double-check Wi-Fi connection on both devices

  • Temporarily disable firewall or antivirus software

  • Restart both the DeskIn app and your devices

  • Make sure DeskIn is up-to-date

  1. Lag or Delay?

  • Ensure a strong Wi-Fi signal

  • Close bandwidth-heavy apps like video calls or downloads

  • Lower display quality settings in DeskIn

  • Consider switching to a wired connection

  1. Display Looks Off?

  • Check your Mac’s native resolution

  • Adjust scaling in both DeskIn and Windows display settings

  • Try using Mac in clamshell mode (MacBook lid closed with external keyboard/mouse)

Conclusion: Boost Productivity with the Setup You Already Own

Turning your Mac into a second monitor for your PC

Turning your Mac into a second monitor for your PC isn’t just a clever workaround. It’s a practical, budget-friendly way to increase your productivity and make the most of the devices you already have. With tools like DeskIn, setting up a dual-screen workspace becomes fast and accessible, even for those with minimal technical experience.

Whether you're working on creative projects, managing spreadsheets, or simply trying to reduce window-switching fatigue, extending your display can significantly improve your workflow. So instead of letting that Mac gather dust, turn it into a powerful extension of your workspace and enjoy a smoother, more efficient daily routine.

 Take Action Now: Head to DeskIn.io, download the app, and give your workspace the dual-screen upgrade it deserves. Your future productive self will thank you.

Click here to download DeskIn

What’s next?
How to Play iPhone Games on Android

How to Play iPhone Games on Android: Complete Guide for Mobile Gamers in 2025

Can You Play Android Games on an iPhone?
Technically, it is not possible to run Android games directly on an iPhone. This is due to the distinct differences in operating systems and application frameworks between Android and iOS. Apple’s iOS is a closed ecosystem with strict controls over app installations and permissions, which prohibits the direct execution of Android applications.

Running Android Apps on an iPhone

While Android games are not natively supported on iPhones, there are workarounds that allow users to access Android applications and games from their iOS devices. One such method involves utilizing remote access software to bridge the two platforms.

You may also like:

How to Play Android Games on an iPhone [2 Methods]

Although not officially supported, users can leverage remote access tools or emulators to interact with Android apps from their iPhone. Below are two practical methods for doing so.

Method 1: DeskIn – Remotely Access Android from iOS Devices

DeskIn provides an effective solution for users who wish to play Android games on an iPhone. By installing DeskIn on both devices, you can remotely access and control your Android device through your iOS device, enabling real-time interaction with your Android apps and games.

This remote control setup allows users to stream Android games directly to their iPhones without the need for switching devices. DeskIn ensures compatibility across platforms without modifying game files or introducing system-level risks. The platform is also optimized for high-performance screen sharing, supporting HD video, up to 60 FPS, and advanced color rendering for a smooth and immersive gaming experience.

Steps to Play Android Games on iPhone Using DeskIn:

  1. Download and install DeskIn on both your Android and iPhone devices.

    Click here to download DeskIn

Launch DeskIn on both devices
  1. On your Android, go to the “My Devices” section and select the Iphone device you wish to connect.

select the Iphone device you wish to connect.
  1. Navigate to “Control”, then select to initiate the remote connection.

select to initiate the remote connection
  1. On your Iphone device, approve the permission request and activate any required accessibility services.

  1. Once connected, adjust the resolution and frame rate settings as needed—especially important for games requiring high responsiveness and visual clarity.

  2. You are now ready to play Android games on your iPhone using DeskIn’s extended screen feature.

Method 2: Android Emulators for iOS

Android Emulators for iOS

Another method to run Android apps on an iPhone is through Android emulators developed for iOS. These emulators are designed to simulate the Android environment, allowing access to apps such as Google Maps, Google Photos, and even Play Store games.

However, many iOS-compatible emulators require jailbreaking the device. Jailbreaking not only introduces security vulnerabilities but may also void the iPhone’s warranty. Due to these risks, the use of emulators is generally discouraged.

Instead, DeskIn offers a safer, more stable alternative that allows remote access without compromising system integrity.

Conclusion

While it is not possible to natively install or run Android games on an iPhone, remote access tools like DeskIn offer a reliable workaround. With DeskIn, users can remotely control their Android devices from an iOS device and enjoy Android games without switching platforms or resorting to risky modifications. For a secure and high-performance experience, DeskIn remains the preferred solution for accessing Android games on iOS.


How to Control Alt Delete Function

TROUBLESHOOTING

How to Control Alt Delete Function on Remote Desktop [Troubleshooting]

If you've ever tried pressing Ctrl + Alt + Delete on your keyboard while connected to a remote desktop session, you know it doesn't work the way you expect. The command is intercepted by your local machine, not the remote one. Frustrating, right?

When Ctrl + Alt + Del Doesn’t Work Remotely

For remote workers, freelancers, and digital nomads, knowing how to control alt delete on remote desktop is crucial. Whether you’re trying to lock your screen, access the Task Manager, or change a password, this simple shortcut matters more than you think.

Good news: there’s a better way to handle it, and I’ll walk you through it step-by-step.

1. Why Ctrl + Alt + Del Doesn’t Work by Default

What’s the Problem?

When you're using Remote Desktop Protocol (RDP) or remote access tools, your keyboard commands go to the local system unless told otherwise.

  • Ctrl + Alt + Delete is a protected system command.

  • Your local system always takes control of it first.

  • The remote computer never receives it.

This is by design, but for those managing remote PCs, it's a headache.

Who Needs This?

  • Remote workers managing multiple machines

  • IT admins doing maintenance

  • Freelancers working across time zones

  • Digital nomads accessing office PCs from anywhere

What You Really Need

You need a way to send Ctrl + Alt + Delete to the remote machine without causing local disruptions.

You may also like:

Using DeskIn: A Smarter Way to Handle Remote Access

DeskIn is a free remote desktop tool that lets you access any PC, from anywhere. One major perk? It lets you send Ctrl + Alt + Delete directly, no stress.

How to Do It With DeskIn

  1. Launch the DeskIn app on both devices

  2. Connect to your PC/Mac/Laptop with DeskIn (if it is connected then your mobile display will be like this)

Connect to your PC/Mac/Laptop with DeskIn
  1. On the bottom right corner menu, click the arrow and another add button will appear

  2. Then select the action menu on the far left 

select the action menu
  1. Then the ctrl+alt+delete button appears which you can easily use at any time.

  1. Click it — problem solved!

You don’t need to remember complex shortcuts or keyboard hacks. DeskIn makes it one-click easy.

Try DeskIn Now

Still stuck figuring out how to control alt delete on remote desktop? Let DeskIn handle it for you. Click here to download DeskIn.


Jangan ketinggalan.

Jangan ketinggalan.

Jangan ketinggalan.

Hubungi Kami

Email: support@deskin.io

Office: 6 Shenton Way, #36-01 OUE Downtown 1, Singapore 068809

Copyright © 2025 Zuler Technology PTE. LTD. All rights reserved.

Hubungi Kami

Email: support@deskin.io

Office: 6 Shenton Wy, #36-01 OUE Downtown 1, Singapore 068809

Copyright © 2025 Zuler Technology PTE. LTD. All rights reserved.

Hubungi Kami

support@deskin.io

6 Shenton Way, #36-01 OUE Downtown 1, Singapore 068809

Copyright © 2025 Zuler Technology PTE. LTD. All rights reserved.