iPhoneの警告 — 「空き容量が少なくなっています」 に遭遇することが多くありませんか?貴重な写真や思い出がどんどんたまっていて、それをパソコンにバックアップしたいと思うものの、どこから始めればよいのか分からない状況です。iPhoneから写真を効率的かつ簡単に転送する方法を見つけることは多くのユーザーにとって共通の悩みです。
心配無用です — この記事では、有線と無線両方の転送方法について最も完全なガイドを提供します。WindowsでもMacでも、最速の推奨ツールからシステムに組み込まれた方法まで、詳細な手順を以下に示しています。写真のバックアップを簡単にするためにいますぐチェックしましょう!
詳しく知りたい方はさらに読む:
推奨メソッド: DeskInを使用してiPhoneの写真をコンピューターに転送 (無制限&高速)
DeskInは、iPhoneからコンピューターへの写真転送問題を完璧に解決する強力なクロスプラットフォームのリモートデスクトップツールです。このツールはiPhoneとPC間で無線写真転送を、高速で安定した接続を通じて可能にします。ファイルサイズ、タイプ、数量に制限がありません。最大12MB/sの転送速度をサポートし、すべての貴重な写真とビデオを簡単にバックアップできます。
主な機能:
無制限の転送: 写真の数や大型の4Kビデオでも制限なく送信できます。
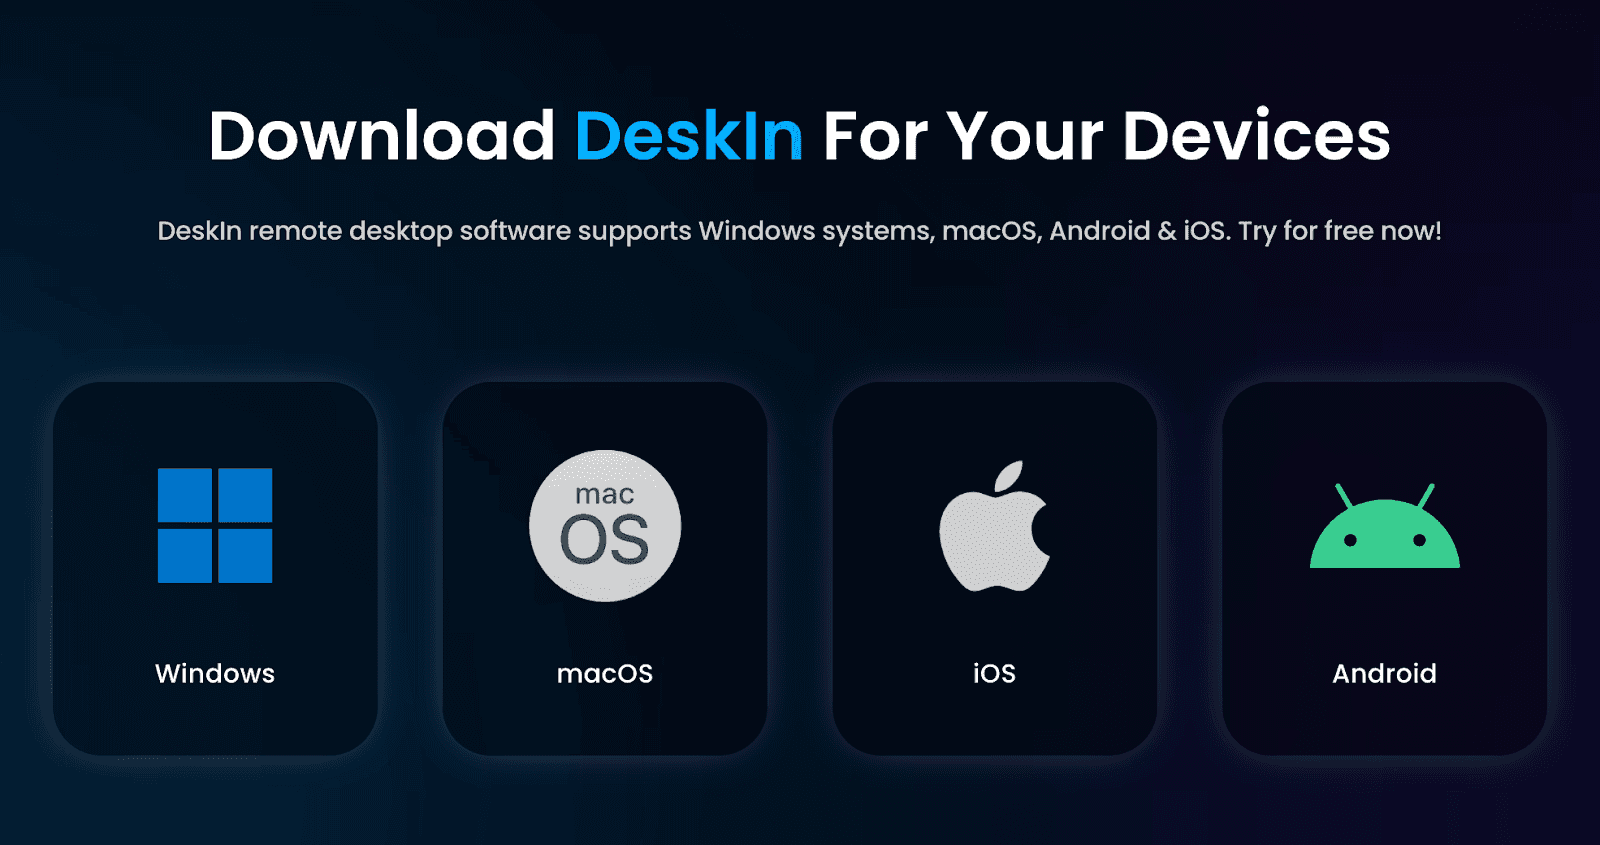
クロスプラットフォームの互換性: Windows、macOS、iOS間でシームレスに動作します。
高速通信: 最大12MB/s — 多くのリモートデスクトップやクラウドメソッドよりも高速。
豊富なリモート機能: ファイル転送以外にも、画面拡張(iPadや携帯を第二のモニターに)、画面ミラーリング、音声通話、アノテーション、共有クリップボードなどをサポートし、個人的にも仕事上でも完璧です。
Windows PC上 / Mac上
ステップ1: DeskInをダウンロード & インストール
DeskInをiPhone(App Store経由)とWindows PC/Mac(DeskInの公式サイト経由)の両方にインストールします。その後、同じメールでサインアップし、アカウントを確認します。
📥 ヒント: DeskInは安全で安心して使用できる企業レベルの暗号化を備えた無料版を提供しています。

ステップ2: デバイスを接続
iPhoneでDeskInアプリを開き、デバイスリストに移動します。コンピューターを見つけ、リモートコントロールのデバイスコードを手動で入力し、ファイル転送をタップします。

ステップ3: デバイスを接続
コンピューターのセキュリティコードか一時パスワードを入力して、セキュアな接続を確立します。
ステップ4: 写真を転送
接続後、ファイル送信をタップ→希望の写真/ビデオを選択→コンピューターのターゲットフォルダを選び→送信をタップします。

ステップ5: コンピューター上でファイルを表示
転送されたファイルは選択したコンピュータフォルダまたはDeskInのデスクトップアプリ内の「Me」→「ダウンロードしたファイル」に表示されます。また、コンピュータからiPhoneへ同じ方法でファイルを転送することも可能です。
Windowsユーザー: iPhone写真をPCに転送する4つの方法
DeskIn以外にも、iPhoneからWindowsに写真を転送するいくつかの伝統的な方法があります。ここに4つの信頼できる方法を挙げています — 有線と無線の両方 — 及びそれらの制限やセットアップ要件について。
1. USBケーブルによる転送 (Windows 10/11)
最も簡単な方法はUSBデータケーブルを使用することです。ただし、互換性の問題や写真フォーマットの問題(例: HEIC)が原因でPCが画像を正しく読み取れないことがあります。
手順:
オリジナルまたはMFi認定のLightningケーブルを使用してiPhoneをPCに接続します。
iPhoneのロックを解除し、プロンプトが表示されたらこのコンピュータを信頼をタップします。
PCでファイルエクスプローラーを開き、「このPC」内でiPhoneを見つけます。
内部ストレージ > DCIMを開き、カメラの写真やビデオが保存されています。
目的の写真またはフォルダをPC上のターゲット位置にコピーし貼り付けます(Ctrl+C / Ctrl+V)。
ヒント: PCがHEICファイルを読み取れない場合は、iPhoneで設定 > カメラ > フォーマットに移動し、互換性優先を選択するか、PCにHEIC拡張機能をインストールしてください。
さらに詳しく読む:
2. Windows用iCloudを使用する
iCloudの最大の利点は無線同期であるため、ケーブルは不要です。ただし、インターネット速度に依存し、無料のストレージは5GBしか提供されません。
手順:
Microsoft StoreからWindows用iCloudをダウンロードします。
Apple ID(iPhoneと同じ)でサインインします。
写真をチェックし、オプションをクリックし、「iCloud写真」を有効にします。
iPhoneで設定 > [あなたの名前] > iCloud > 写真に移動し、iCloud写真を有効にします。
PCでファイルエクスプローラー > iCloud写真を開き、同期された写真を表示またはダウンロードします。
3. Microsoftフォトアプリを使用する
Windowsに内蔵されたフォトアプリは、追加のソフトウェアなしで簡単に写真をインポートできます。ただし、大容量の転送では安定性が低下することがあります。
手順:
Lightningケーブルを使用してiPhoneをPCに接続します。
コンピューター上でフォトを開きます(スタートメニューで「フォト」を検索)。
インポート > USBデバイスからをクリックします。
希望の写真を選択し、選択項目をインポートをクリックします。
4. クラウドサービスを使用する(無線転送)
OneDrive、Dropbox、Google Photosなどのクラウドストレージサービスを使用してケーブルなしで転送できますが、インターネット速度と限られた無料ストレージに依存します。
手順:
選択したクラウドアプリ(OneDrive、Dropboxなど)をiPhoneにインストールします。
希望する写真をアップロードします(「自動アップロード」を有効にしてください)。
PCで同じクラウドアカウントにログインし、ファイルをダウンロードします。
Macユーザー: iPhoneの写真をMacに転送する4つの方法
AppleのエコシステムはMacへの写真転送をよりスムーズにします。
以下に、有線と無線の両方で一般的に使用される4つの方法を紹介します。
さらに詳しく読む:
1. 内蔵のフォトアプリを使用する
macOSに完全に統合されたこのアプリは、効率的に写真をインポートして整理できます。
手順:
USBを介してiPhoneをMacに接続し、このコンピュータを信頼をタップします。
フォトアプリを開きます。
サイドバーからiPhoneを選択します。
選択項目をインポートまたはすべての新しい写真をインポートを選択します。
写真はMacのフォトライブラリに保存されます。
2. AirDropを使用してiPhoneの写真をMacに無線で転送
AirDropは高速でケーブル不要ですが、大容量転送には安定性が欠けることがあります。
手順:
iPhoneとMacの両方でBluetoothとWi-Fiを有効にします。
iPhoneで写真を開き、アイテムを選択し、共有 > AirDropをタップします。
リストからMacを選択します。
Mac上で転送を承諾し、写真はダウンロードフォルダに保存されます。

3. イメージキャプチャを使用する
イメージキャプチャアプリはiPhoneのオリジナル写真とビデオに直接アクセスできます。
手順:
iPhoneをMacに接続し、このコンピュータを信頼をタップします。
イメージキャプチャを開きます(アプリケーションフォルダまたはSpotlight)。
サイドバーからiPhoneを選択します。
ターゲット写真と保存先フォルダを選択します。
インポートをクリックして転送します。
4. iTunesを使用してフルバックアップを作成する
iTunesはiPhone全体を同期してバックアップし、データの安全性を確保しますが、選択的な転送は行いません。
手順:
USB経由でiPhoneをMacに接続し、iTunesを開き、コンピュータを信頼します。
デバイスアイコンを選択します。
写真の下で写真を同期をチェックし、ソースフォルダーを選択します。
適用または同期をクリックして、転送を開始します。
まとめ
このガイドでは、iPhoneの写真をコンピューターに転送するさまざまな方法を紹介しました。WindowsあるいはMacユーザーのいずれであっても、シンプルなUSB接続やiCloud同期、クロスプラットフォームのクラウドサービス、高速なDeskInツールから選ぶことができます。
あなたのセットアップ、転送サイズ、スピードニーズに合った方法を選び、iPhoneの容量を解放し、思い出を安全に保存しましょう。
📥ヒント: DeskInの無料版を試してください — 企業レベルの暗号化と高速で安全なファイル転送が特徴です。

よくある質問: iPhone写真転送
Q1: コンピューターでiPhoneの写真を見るにはどうすればいいですか?
USBケーブルを使って接続し、コンピューターの内蔵フォトアプリ(WindowsフォトやMacのイメージキャプチャ)で写真を閲覧します。
または、iCloudのWeb版やDeλskInのようなクロスデバイストールを使用して無線で閲覧することも可能です。
Q2: なぜ写真転送にDeskInを選ぶのですか?
DeskInは最大12MB/sの無線速度を提供し、主要なOSプラットフォームをサポートし、複数の写真フォーマットを制限なく転送できます — Apple-Windowsの混合環境のユーザーには理想的です。
Q3: iPhoneの写真をコンピューターにインポートできない理由は何ですか?
考えられる原因は、不安定なUSB接続、「このコンピュータを信頼」をタップしなかった、iCloud同期の競合、またはディスク容量の不足です。
DeskInはこれらの問題を回避する安定した効率的な代替手段を提供します。
Q4: iCloudの月額料金はいくらですか?
iCloudは5GB無料で、以下の有料iCloud+プランがあります:
50GB – $0.99/月
200GB – $2.99/月
2TB – $9.99/月
Q5: iPhoneでメモリーカードを使用できますか?
いいえ、iPhoneは外部メモリーカードをサポートしていません。ただし、AppleのLightning - SDカードカメラリーダーやUSB-C - SDカードリーダーを使用してSDカードから直接写真をインポートすることは可能です。
iPhoneの警告 — 「空き容量が少なくなっています」 に遭遇することが多くありませんか?貴重な写真や思い出がどんどんたまっていて、それをパソコンにバックアップしたいと思うものの、どこから始めればよいのか分からない状況です。iPhoneから写真を効率的かつ簡単に転送する方法を見つけることは多くのユーザーにとって共通の悩みです。
心配無用です — この記事では、有線と無線両方の転送方法について最も完全なガイドを提供します。WindowsでもMacでも、最速の推奨ツールからシステムに組み込まれた方法まで、詳細な手順を以下に示しています。写真のバックアップを簡単にするためにいますぐチェックしましょう!
詳しく知りたい方はさらに読む:
推奨メソッド: DeskInを使用してiPhoneの写真をコンピューターに転送 (無制限&高速)
DeskInは、iPhoneからコンピューターへの写真転送問題を完璧に解決する強力なクロスプラットフォームのリモートデスクトップツールです。このツールはiPhoneとPC間で無線写真転送を、高速で安定した接続を通じて可能にします。ファイルサイズ、タイプ、数量に制限がありません。最大12MB/sの転送速度をサポートし、すべての貴重な写真とビデオを簡単にバックアップできます。
主な機能:
無制限の転送: 写真の数や大型の4Kビデオでも制限なく送信できます。
クロスプラットフォームの互換性: Windows、macOS、iOS間でシームレスに動作します。
高速通信: 最大12MB/s — 多くのリモートデスクトップやクラウドメソッドよりも高速。
豊富なリモート機能: ファイル転送以外にも、画面拡張(iPadや携帯を第二のモニターに)、画面ミラーリング、音声通話、アノテーション、共有クリップボードなどをサポートし、個人的にも仕事上でも完璧です。
Windows PC上 / Mac上
ステップ1: DeskInをダウンロード & インストール
DeskInをiPhone(App Store経由)とWindows PC/Mac(DeskInの公式サイト経由)の両方にインストールします。その後、同じメールでサインアップし、アカウントを確認します。
📥 ヒント: DeskInは安全で安心して使用できる企業レベルの暗号化を備えた無料版を提供しています。

ステップ2: デバイスを接続
iPhoneでDeskInアプリを開き、デバイスリストに移動します。コンピューターを見つけ、リモートコントロールのデバイスコードを手動で入力し、ファイル転送をタップします。

ステップ3: デバイスを接続
コンピューターのセキュリティコードか一時パスワードを入力して、セキュアな接続を確立します。
ステップ4: 写真を転送
接続後、ファイル送信をタップ→希望の写真/ビデオを選択→コンピューターのターゲットフォルダを選び→送信をタップします。

ステップ5: コンピューター上でファイルを表示
転送されたファイルは選択したコンピュータフォルダまたはDeskInのデスクトップアプリ内の「Me」→「ダウンロードしたファイル」に表示されます。また、コンピュータからiPhoneへ同じ方法でファイルを転送することも可能です。
Windowsユーザー: iPhone写真をPCに転送する4つの方法
DeskIn以外にも、iPhoneからWindowsに写真を転送するいくつかの伝統的な方法があります。ここに4つの信頼できる方法を挙げています — 有線と無線の両方 — 及びそれらの制限やセットアップ要件について。
1. USBケーブルによる転送 (Windows 10/11)
最も簡単な方法はUSBデータケーブルを使用することです。ただし、互換性の問題や写真フォーマットの問題(例: HEIC)が原因でPCが画像を正しく読み取れないことがあります。
手順:
オリジナルまたはMFi認定のLightningケーブルを使用してiPhoneをPCに接続します。
iPhoneのロックを解除し、プロンプトが表示されたらこのコンピュータを信頼をタップします。
PCでファイルエクスプローラーを開き、「このPC」内でiPhoneを見つけます。
内部ストレージ > DCIMを開き、カメラの写真やビデオが保存されています。
目的の写真またはフォルダをPC上のターゲット位置にコピーし貼り付けます(Ctrl+C / Ctrl+V)。
ヒント: PCがHEICファイルを読み取れない場合は、iPhoneで設定 > カメラ > フォーマットに移動し、互換性優先を選択するか、PCにHEIC拡張機能をインストールしてください。
さらに詳しく読む:
2. Windows用iCloudを使用する
iCloudの最大の利点は無線同期であるため、ケーブルは不要です。ただし、インターネット速度に依存し、無料のストレージは5GBしか提供されません。
手順:
Microsoft StoreからWindows用iCloudをダウンロードします。
Apple ID(iPhoneと同じ)でサインインします。
写真をチェックし、オプションをクリックし、「iCloud写真」を有効にします。
iPhoneで設定 > [あなたの名前] > iCloud > 写真に移動し、iCloud写真を有効にします。
PCでファイルエクスプローラー > iCloud写真を開き、同期された写真を表示またはダウンロードします。
3. Microsoftフォトアプリを使用する
Windowsに内蔵されたフォトアプリは、追加のソフトウェアなしで簡単に写真をインポートできます。ただし、大容量の転送では安定性が低下することがあります。
手順:
Lightningケーブルを使用してiPhoneをPCに接続します。
コンピューター上でフォトを開きます(スタートメニューで「フォト」を検索)。
インポート > USBデバイスからをクリックします。
希望の写真を選択し、選択項目をインポートをクリックします。
4. クラウドサービスを使用する(無線転送)
OneDrive、Dropbox、Google Photosなどのクラウドストレージサービスを使用してケーブルなしで転送できますが、インターネット速度と限られた無料ストレージに依存します。
手順:
選択したクラウドアプリ(OneDrive、Dropboxなど)をiPhoneにインストールします。
希望する写真をアップロードします(「自動アップロード」を有効にしてください)。
PCで同じクラウドアカウントにログインし、ファイルをダウンロードします。
Macユーザー: iPhoneの写真をMacに転送する4つの方法
AppleのエコシステムはMacへの写真転送をよりスムーズにします。
以下に、有線と無線の両方で一般的に使用される4つの方法を紹介します。
さらに詳しく読む:
1. 内蔵のフォトアプリを使用する
macOSに完全に統合されたこのアプリは、効率的に写真をインポートして整理できます。
手順:
USBを介してiPhoneをMacに接続し、このコンピュータを信頼をタップします。
フォトアプリを開きます。
サイドバーからiPhoneを選択します。
選択項目をインポートまたはすべての新しい写真をインポートを選択します。
写真はMacのフォトライブラリに保存されます。
2. AirDropを使用してiPhoneの写真をMacに無線で転送
AirDropは高速でケーブル不要ですが、大容量転送には安定性が欠けることがあります。
手順:
iPhoneとMacの両方でBluetoothとWi-Fiを有効にします。
iPhoneで写真を開き、アイテムを選択し、共有 > AirDropをタップします。
リストからMacを選択します。
Mac上で転送を承諾し、写真はダウンロードフォルダに保存されます。

3. イメージキャプチャを使用する
イメージキャプチャアプリはiPhoneのオリジナル写真とビデオに直接アクセスできます。
手順:
iPhoneをMacに接続し、このコンピュータを信頼をタップします。
イメージキャプチャを開きます(アプリケーションフォルダまたはSpotlight)。
サイドバーからiPhoneを選択します。
ターゲット写真と保存先フォルダを選択します。
インポートをクリックして転送します。
4. iTunesを使用してフルバックアップを作成する
iTunesはiPhone全体を同期してバックアップし、データの安全性を確保しますが、選択的な転送は行いません。
手順:
USB経由でiPhoneをMacに接続し、iTunesを開き、コンピュータを信頼します。
デバイスアイコンを選択します。
写真の下で写真を同期をチェックし、ソースフォルダーを選択します。
適用または同期をクリックして、転送を開始します。
まとめ
このガイドでは、iPhoneの写真をコンピューターに転送するさまざまな方法を紹介しました。WindowsあるいはMacユーザーのいずれであっても、シンプルなUSB接続やiCloud同期、クロスプラットフォームのクラウドサービス、高速なDeskInツールから選ぶことができます。
あなたのセットアップ、転送サイズ、スピードニーズに合った方法を選び、iPhoneの容量を解放し、思い出を安全に保存しましょう。
📥ヒント: DeskInの無料版を試してください — 企業レベルの暗号化と高速で安全なファイル転送が特徴です。

よくある質問: iPhone写真転送
Q1: コンピューターでiPhoneの写真を見るにはどうすればいいですか?
USBケーブルを使って接続し、コンピューターの内蔵フォトアプリ(WindowsフォトやMacのイメージキャプチャ)で写真を閲覧します。
または、iCloudのWeb版やDeλskInのようなクロスデバイストールを使用して無線で閲覧することも可能です。
Q2: なぜ写真転送にDeskInを選ぶのですか?
DeskInは最大12MB/sの無線速度を提供し、主要なOSプラットフォームをサポートし、複数の写真フォーマットを制限なく転送できます — Apple-Windowsの混合環境のユーザーには理想的です。
Q3: iPhoneの写真をコンピューターにインポートできない理由は何ですか?
考えられる原因は、不安定なUSB接続、「このコンピュータを信頼」をタップしなかった、iCloud同期の競合、またはディスク容量の不足です。
DeskInはこれらの問題を回避する安定した効率的な代替手段を提供します。
Q4: iCloudの月額料金はいくらですか?
iCloudは5GB無料で、以下の有料iCloud+プランがあります:
50GB – $0.99/月
200GB – $2.99/月
2TB – $9.99/月
Q5: iPhoneでメモリーカードを使用できますか?
いいえ、iPhoneは外部メモリーカードをサポートしていません。ただし、AppleのLightning - SDカードカメラリーダーやUSB-C - SDカードリーダーを使用してSDカードから直接写真をインポートすることは可能です。


