Screen sharing on a Mac can be incredibly useful, whether you're collaborating on a project, troubleshooting a technical issue, or giving a quick tutorial to a colleague or friend. But if you're new to macOS or switching from another system, figuring out how to start screen sharing can be confusing.
This guide walks you through the 3 easiest ways with common error fixes, to share your screen on a MacBook Air, MacBook Pro, or iMac without a technical background required. From built-in tools to smarter third-party options like DeskIn, you'll find the method that fits your needs best.
👀 More About Mac Screen Share:
Top 6 Best Screen Mirroring Apps in 2025 [Free & Paid Options]
How to Connect Mac to PC Remote Desktop Screen Share [3 Ways]
Method 1. Use Mac's Free Built-In Screen Sharing Feature
If you need to share your Mac screen with another Mac on the same local network, Apple's built-in Screen Sharing app offers a simple and effective solution. It's especially useful for tech support, collaboration, or remote access within homes or offices, with no third-party software required.
That said, this method only works Mac-to-Mac and requires both devices to be on the same network, which makes it ideal for quick, local sharing scenarios. If that fits your situation, follow these steps to get started.
Step 1. Go to "Apple menu > System Settings > General > Sharing".
Step 2. Toggle on "Screen Sharing". Under "Allow access for," choose All users or Only these users, depending on your needs.
Step 3. On the other Mac, open Finder, then go to "Network", or open the Screen Sharing app via Launchpad.
Step 4. Select the Mac you want to connect to, or enter its IP address or hostname, then click "Connect".
Step 5. Finally, find your target Mac computer under "Settings > Display", and mirror your Mac screen on it.

💡 Things to Keep in Mind:
Both Macs must be powered on and connected to the same network.
If the Firewall is enabled, make sure it allows incoming Screen Sharing connections.
Performance may vary depending on your network speed and system resources.
Method 2. Share Screen via FaceTime on the Latest macOS
If you're running macOS Sonoma or later, FaceTime now provides a built-in screen sharing feature to show your screen during a video call, offering a frictionless way to share your screen on an iMac, MacBook, or any macOS device. It's especially helpful for quick demonstrations, collaborative discussions, or helping friends and family troubleshoot issues, without needing any extra apps or setup.
This method is best suited for temporary Mac screen sharing during real-time conversations, especially when talking to someone on another Mac or iOS device. However, it's important to note that FaceTime screen sharing does not allow remote control, and is therefore not suitable for IT-level support or secure access. To share your screen during a FaceTime call, follow these steps as follows.
Step 1. Start or join a FaceTime call with the person you want to share your screen with.
Step 2. Click the "Share Screen" button (a rectangle with a person icon) in the FaceTime control bar.
Step 3. Choose either "Entire Screen" or "Specific Window", depending on what you want to show.
Step 4. To stop sharing, click the "screen sharing" icon again, or switch to a different window if needed.
Read More:

Method 3. Use DeskIn for Easy and Cross-Platform Screen Sharing
If you need to share your Mac screen securely across different networks or platforms, or even take full remote control of another device, DeskIn is a powerful and user-friendly alternative to traditional methods. It's designed for users who need more than just basic screen sharing, perfect for remote work, IT support, or virtual collaboration.
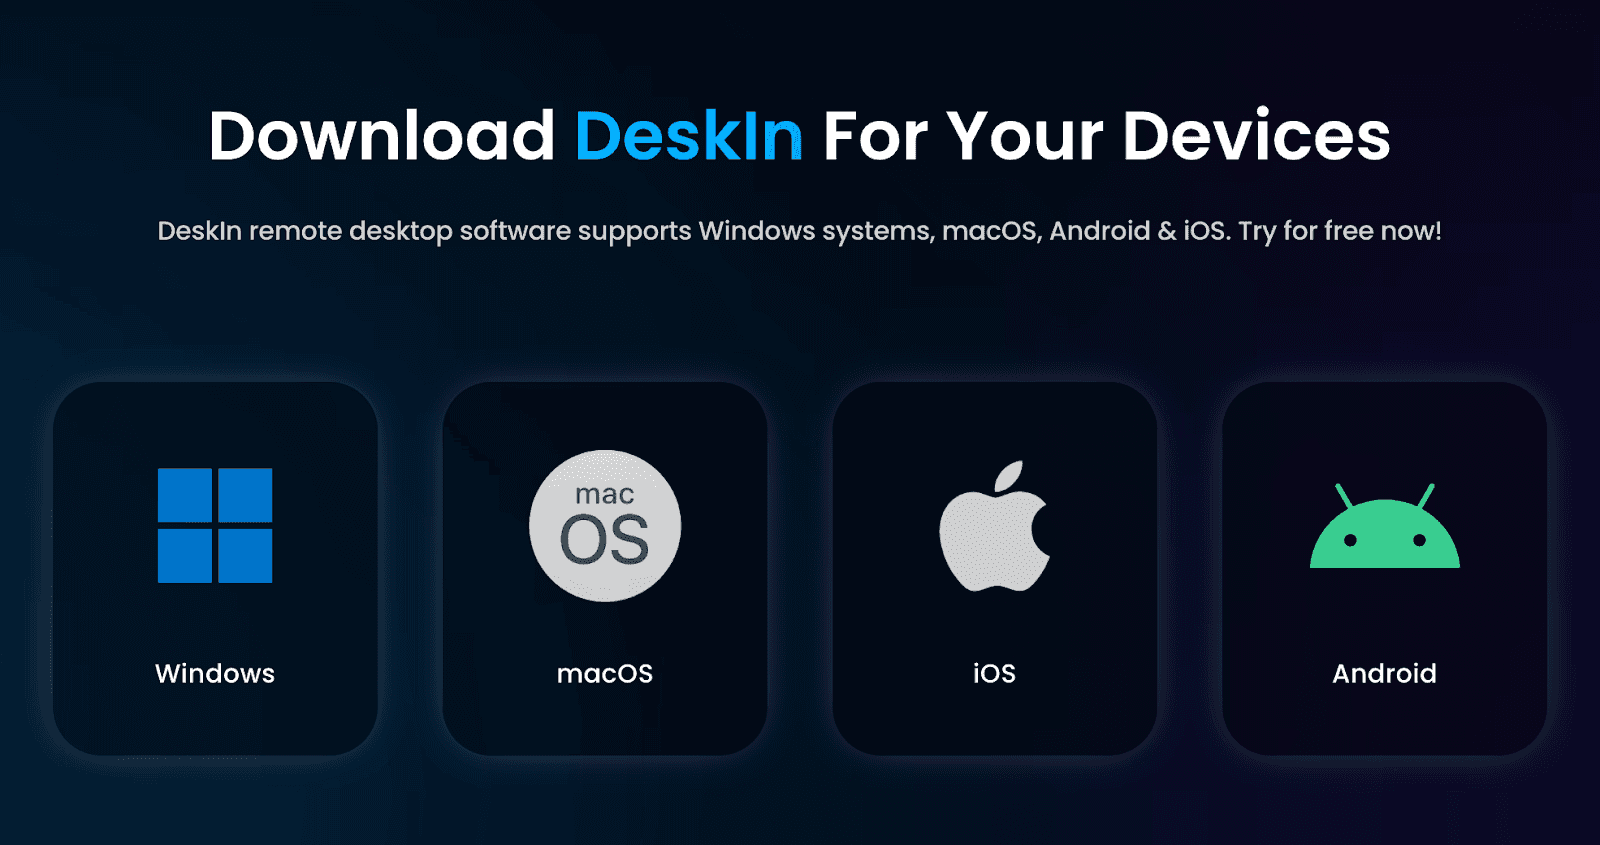
Unlike Apple's built-in tools, DeskIn doesn't require a public IP address or port forwarding, thanks to its intelligent NAT traversal. All connections are end-to-end encrypted, ensuring your data remains private and protected. In addition to screen sharing, DeskIn also supports file transfers, real-time control, and cross-platform compatibility, which means you can remote access your Mac from iPhone, Android, or Windows PC, and enjoy all advanced features without hassle.
👍 Key Features of DeskIn:
No Public IP Required - Easily connect without configuring network ports or firewalls.
End-to-End Encryption - All screen sharing sessions are securely encrypted to protect sensitive data.
Cross-Platform Compatibility - Available on macOS, Windows, Linux, iOS, and Android.
More Than Just Screen Sharing - Support for remote control, file transfers, and real-time collaboration.
Simple Access Methods - Connect using temporary access codes or set custom passwords for frequent connections.
Here's how to share a Mac screen securely, and even remote control your other Mac computer with DeskIn.
Step 1. Download and install the DeskIn app on both the host (sharing) and viewer (control) devices.
Step 2. Register or log in to your DeskIn account.

Step 3. On the host device (Mac), generate a temporary connection code or set a permanent access password.
Step 4. On the viewer device, enter the code or credentials, and you'll instantly gain access to the shared screen, with optional control.

Whether you're assisting a client, collaborating on a project, or managing a remote desktop setup, DeskIn offers a secure, seamless, and efficient screen-sharing experience for all scenarios.
Troubleshooting: Why Mac Screen Sharing Might Not Work
During your usage, you may come across any trouble, like Mac screen sharing not working, or not being able to share your Mac. Whether you're using the built-in Screen Sharing app or trying to share during a FaceTime call, there are several common reasons why it might not work as expected.
Here's how to identify and fix the most frequent issues:
Devices Are Not on the Same Network: The built-in Screen Sharing app only works when both Macs are connected to the same local network. If you're trying to connect remotely, this method won't work.
Firewall Is Blocking RDP or VNC Ports: macOS firewalls or network security settings might block the ports used for screen sharing. Make sure port 5900 (VNC) is allowed through your firewall.
Screen Sharing Permissions Not Enabled: Go to System Settings > General > Sharing, and ensure Screen Sharing is turned on. Also, verify that the correct users are authorized under the "Allow access for" section.
User Account Lacks Access Rights: If the user trying to connect isn't granted permission on the host Mac, screen sharing won't initiate. You may need to add them to the approved list.
Incompatible or Outdated macOS Versions: Some features, like FaceTime screen sharing, are only available on macOS Sonoma and newer. If one device is running an older version, compatibility issues may occur.
📌 Tips: If you need to share your screen between different networks or across platforms, consider using DeskIn. It doesn't require both devices to be on the same network and automatically handles firewall/NAT traversal. With end-to-end encryption and multi-platform support, it's a reliable workaround when native macOS tools fall short.
Why You Might Need to Screen Share on a Mac Remotely
Screen sharing isn't just a tech-savvy feature; it's a practical tool that makes everyday collaboration smoother. Whether you're working from home, helping a family member troubleshoot their Mac, or hosting a virtual training session, screen sharing lets others see exactly what's happening on your screen in real time.
Here are some common scenarios where sharing your screen on a Mac can come in handy:
Remote presentations to clients or teammates.
Live technical support when someone needs to walk you through an issue (or vice versa).
Online classes or training sessions where visual explanation is key.
Collaborative document editing or design review that benefits from shared visuals.
Conclusion
In summary, screen sharing on Mac can be easily done using the built-in Screen Sharing app for local networks, FaceTime for quick, temporary sharing, or DeskIn for secure, cross-platform collaboration. For seamless and secure screen sharing, DeskIn offers the best solution, especially when working remotely or across different devices. Choose the method that best fits your needs, and for enhanced security and flexibility, consider downloading DeskIn for remote desktop and screen sharing!
Screen sharing on a Mac can be incredibly useful, whether you're collaborating on a project, troubleshooting a technical issue, or giving a quick tutorial to a colleague or friend. But if you're new to macOS or switching from another system, figuring out how to start screen sharing can be confusing.
This guide walks you through the 3 easiest ways with common error fixes, to share your screen on a MacBook Air, MacBook Pro, or iMac without a technical background required. From built-in tools to smarter third-party options like DeskIn, you'll find the method that fits your needs best.
👀 More About Mac Screen Share:
Top 6 Best Screen Mirroring Apps in 2025 [Free & Paid Options]
How to Connect Mac to PC Remote Desktop Screen Share [3 Ways]
Method 1. Use Mac's Free Built-In Screen Sharing Feature
If you need to share your Mac screen with another Mac on the same local network, Apple's built-in Screen Sharing app offers a simple and effective solution. It's especially useful for tech support, collaboration, or remote access within homes or offices, with no third-party software required.
That said, this method only works Mac-to-Mac and requires both devices to be on the same network, which makes it ideal for quick, local sharing scenarios. If that fits your situation, follow these steps to get started.
Step 1. Go to "Apple menu > System Settings > General > Sharing".
Step 2. Toggle on "Screen Sharing". Under "Allow access for," choose All users or Only these users, depending on your needs.
Step 3. On the other Mac, open Finder, then go to "Network", or open the Screen Sharing app via Launchpad.
Step 4. Select the Mac you want to connect to, or enter its IP address or hostname, then click "Connect".
Step 5. Finally, find your target Mac computer under "Settings > Display", and mirror your Mac screen on it.

💡 Things to Keep in Mind:
Both Macs must be powered on and connected to the same network.
If the Firewall is enabled, make sure it allows incoming Screen Sharing connections.
Performance may vary depending on your network speed and system resources.
Method 2. Share Screen via FaceTime on the Latest macOS
If you're running macOS Sonoma or later, FaceTime now provides a built-in screen sharing feature to show your screen during a video call, offering a frictionless way to share your screen on an iMac, MacBook, or any macOS device. It's especially helpful for quick demonstrations, collaborative discussions, or helping friends and family troubleshoot issues, without needing any extra apps or setup.
This method is best suited for temporary Mac screen sharing during real-time conversations, especially when talking to someone on another Mac or iOS device. However, it's important to note that FaceTime screen sharing does not allow remote control, and is therefore not suitable for IT-level support or secure access. To share your screen during a FaceTime call, follow these steps as follows.
Step 1. Start or join a FaceTime call with the person you want to share your screen with.
Step 2. Click the "Share Screen" button (a rectangle with a person icon) in the FaceTime control bar.
Step 3. Choose either "Entire Screen" or "Specific Window", depending on what you want to show.
Step 4. To stop sharing, click the "screen sharing" icon again, or switch to a different window if needed.
Read More:

Method 3. Use DeskIn for Easy and Cross-Platform Screen Sharing
If you need to share your Mac screen securely across different networks or platforms, or even take full remote control of another device, DeskIn is a powerful and user-friendly alternative to traditional methods. It's designed for users who need more than just basic screen sharing, perfect for remote work, IT support, or virtual collaboration.
Unlike Apple's built-in tools, DeskIn doesn't require a public IP address or port forwarding, thanks to its intelligent NAT traversal. All connections are end-to-end encrypted, ensuring your data remains private and protected. In addition to screen sharing, DeskIn also supports file transfers, real-time control, and cross-platform compatibility, which means you can remote access your Mac from iPhone, Android, or Windows PC, and enjoy all advanced features without hassle.
👍 Key Features of DeskIn:
No Public IP Required - Easily connect without configuring network ports or firewalls.
End-to-End Encryption - All screen sharing sessions are securely encrypted to protect sensitive data.
Cross-Platform Compatibility - Available on macOS, Windows, Linux, iOS, and Android.
More Than Just Screen Sharing - Support for remote control, file transfers, and real-time collaboration.
Simple Access Methods - Connect using temporary access codes or set custom passwords for frequent connections.
Here's how to share a Mac screen securely, and even remote control your other Mac computer with DeskIn.
Step 1. Download and install the DeskIn app on both the host (sharing) and viewer (control) devices.
Step 2. Register or log in to your DeskIn account.

Step 3. On the host device (Mac), generate a temporary connection code or set a permanent access password.
Step 4. On the viewer device, enter the code or credentials, and you'll instantly gain access to the shared screen, with optional control.

Whether you're assisting a client, collaborating on a project, or managing a remote desktop setup, DeskIn offers a secure, seamless, and efficient screen-sharing experience for all scenarios.
Troubleshooting: Why Mac Screen Sharing Might Not Work
During your usage, you may come across any trouble, like Mac screen sharing not working, or not being able to share your Mac. Whether you're using the built-in Screen Sharing app or trying to share during a FaceTime call, there are several common reasons why it might not work as expected.
Here's how to identify and fix the most frequent issues:
Devices Are Not on the Same Network: The built-in Screen Sharing app only works when both Macs are connected to the same local network. If you're trying to connect remotely, this method won't work.
Firewall Is Blocking RDP or VNC Ports: macOS firewalls or network security settings might block the ports used for screen sharing. Make sure port 5900 (VNC) is allowed through your firewall.
Screen Sharing Permissions Not Enabled: Go to System Settings > General > Sharing, and ensure Screen Sharing is turned on. Also, verify that the correct users are authorized under the "Allow access for" section.
User Account Lacks Access Rights: If the user trying to connect isn't granted permission on the host Mac, screen sharing won't initiate. You may need to add them to the approved list.
Incompatible or Outdated macOS Versions: Some features, like FaceTime screen sharing, are only available on macOS Sonoma and newer. If one device is running an older version, compatibility issues may occur.
📌 Tips: If you need to share your screen between different networks or across platforms, consider using DeskIn. It doesn't require both devices to be on the same network and automatically handles firewall/NAT traversal. With end-to-end encryption and multi-platform support, it's a reliable workaround when native macOS tools fall short.
Why You Might Need to Screen Share on a Mac Remotely
Screen sharing isn't just a tech-savvy feature; it's a practical tool that makes everyday collaboration smoother. Whether you're working from home, helping a family member troubleshoot their Mac, or hosting a virtual training session, screen sharing lets others see exactly what's happening on your screen in real time.
Here are some common scenarios where sharing your screen on a Mac can come in handy:
Remote presentations to clients or teammates.
Live technical support when someone needs to walk you through an issue (or vice versa).
Online classes or training sessions where visual explanation is key.
Collaborative document editing or design review that benefits from shared visuals.
Conclusion
In summary, screen sharing on Mac can be easily done using the built-in Screen Sharing app for local networks, FaceTime for quick, temporary sharing, or DeskIn for secure, cross-platform collaboration. For seamless and secure screen sharing, DeskIn offers the best solution, especially when working remotely or across different devices. Choose the method that best fits your needs, and for enhanced security and flexibility, consider downloading DeskIn for remote desktop and screen sharing!


