Search Docs…
Hướng Dẫn Hoàn Chỉnh về Việc Chia Sẻ Màn Hình iPhone của Bạn với iPad Trong Năm 2025
Trong thế giới kết nối mạnh mẽ ngày nay, khả năng gương màn hình iPhone đến iPad đã trở nên ngày càng quan trọng đối với cả những người chuyên nghiệp và người dùng thông thường. Dù bạn là một người du lịch kỹ thuật số đang trình bày ý tưởng trong khi di chuyển, một nhân viên làm việc từ xa chia sẻ nội dung với đồng nghiệp, hoặc đơn giản là muốn thưởng thức nội dung từ iPhone của bạn trên màn hình lớn hơn, biết cách gương màn hình iPhone đến iPad có thể tăng cường đáng kể năng suất và trải nghiệm giải trí của bạn.
Theo một khảo sát năm 2024 của Mobile Workforce Analytics, khoảng 67% các chuyên gia làm việc từ xa hiện đang sử dụng nhiều thiết bị Apple hàng ngày, trong đó kết hợp iPhone-iPad là sự phối hợp phổ biến nhất. Tuy nhiên, thật ngạc nhiên, chỉ có 23% tận dụng tối đa chức năng đa thiết bị như gương màn hình - để lại một cơ hội lớn cho việc tăng cường năng suất chưa được khai thác.
Tại sao việc gương iPhone đến iPad lại quan trọng trong thế giới di động ngày nay
Câu hỏi "tôi có thể gương iPhone đến iPad không?" là một điều tôi thường nghe trong thực hành tư vấn công nghệ của mình. Câu trả lời là một cái có mạnh mẽ, và thực tế là đơn giản hơn nhiều người nhận ra. Càng tốt hơn, với những công cụ phù hợp, bạn có thể gương màn hình iPhone đến iPad mà không cần WiFi trong những trường hợp kết nối hạn chế.
📌 Thông báo Tăng Cường Năng Suất: Các nghiên cứu từ Viện Hiệu Suất Nơi Làm Việc cho thấy rằng các chuyên gia nắm vững quy trình làm việc đa thiết bị tiết kiệm trung bình 42 phút mỗi ngày - đó là hơn 3,5 giờ mỗi tuần bạn có thể lấy lại bằng cách thực hiện các kỹ thuật như gương màn hình iPhone đến iPad!
Bạn cũng có thể thích:
Trong hướng dẫn toàn diện này, tôi sẽ hướng dẫn bạn qua nhiều phương pháp để gương màn hình iPhone của bạn lên iPad, bao gồm cả các giải pháp tích hợp của Apple và các tùy chọn bên thứ ba mạnh mẽ như DeskIn cung cấp chức năng và linh hoạt nâng cao.
Các Phương Pháp Tích Hợp: Cách Gương iPhone đến iPad Sử Dụng Các Tính Năng Tích Hợp của Apple
Apple đã thiết kế hệ sinh thái của mình để hoạt động liền mạch với nhau, cung cấp một số cách tích hợp để gương màn hình iPhone đến iPad. Những phương pháp này yêu cầu ít thiết lập và sử dụng các tính năng đã có sẵn trên các thiết bị của bạn.
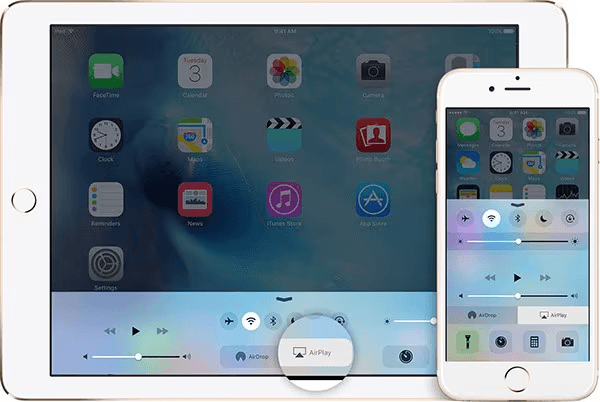
Sử Dụng AirPlay để Gương Màn Hình iPhone đến iPad
AirPlay là giao thức phát trực tuyến không dây của Apple cho phép bạn gương toàn bộ màn hình iPhone của bạn lên các thiết bị tương thích, bao gồm cả iPad của bạn.
Các yêu cầu:
Cả hai thiết bị đều chạy iOS 14 trở lên (hiệu suất tối ưu trên iOS 16 trở lên)
Cả hai thiết bị đều kết nối với cùng một mạng WiFi
Cả hai thiết bị đều đăng nhập vào cùng một Apple ID (đối với một số tính năng)
👉 Hướng dẫn từng bước:
Đảm bảo tính tương thích:
Cập nhật cả iPhone và iPad của bạn lên phiên bản iOS mới nhất
Kết nối cả hai thiết bị với cùng một mạng WiFi
Bật gương màn hình:
Trên iPhone của bạn, vuốt xuống từ góc trên bên phải để mở Control Center
Nhấn nút "Gương Màn Hình"
Chọn iPad của bạn từ danh sách các thiết bị có sẵn
Nếu được nhắc, nhập mã AirPlay xuất hiện trên iPad của bạn
Điều chỉnh cài đặt hiển thị:
Màn hình iPhone của bạn bây giờ sẽ xuất hiện trên iPad của bạn
Sử dụng cử chỉ kéo để điều chỉnh kích thước hiển thị trên iPad
Xoay iPad của bạn để thay đổi hướng nếu cần
Kết thúc phiên gương màn hình:
Mở Control Center trên iPhone của bạn
Nhấn "Gương Màn Hình"
Chọn "Dừng Gương"
Mặc dù AirPlay hoạt động tốt trong nhiều tình huống, nó có một số hạn chế - cụ thể, cả hai thiết bị phải ở trên cùng một mạng WiFi, và một số nội dung có thể bị hạn chế do bảo vệ DRM.
Sử Dụng Sidecar Như Một Phương Pháp Thay Thế
Khi Sidecar chủ yếu được thiết kế để mở rộng hiển thị của Mac đến iPad, nó có thể là một phần của quy trình công việc cho phép bạn xem nội dung iPhone trên iPad của bạn.
Các yêu cầu:
Mac chạy macOS Catalina trở lên
iPad tương thích với Sidecar (hầu hết các mẫu từ năm 2016 trở đi)
iPhone chạy iOS 14 trở lên
👉 Tổng quan quy trình:
Kết nối iPad với Mac qua Sidecar:
Trên Mac của bạn, nhấp vào biểu tượng AirPlay trên thanh menu
Chọn iPad của bạn từ danh sách
iPad của bạn bây giờ hoạt động như một màn hình mở rộng
Gương iPhone đến Mac:
Kết nối iPhone của bạn với Mac bằng cáp Lightning
Mở QuickTime Player trên Mac của bạn
Chọn "Tệp" > "Ghi Hình Mới"
Nhấp vào mũi tên thả xuống bên cạnh nút ghi
Chọn iPhone của bạn làm nguồn camera
Màn hình iPhone của bạn bây giờ hiển thị trong QuickTime
Di chuyển cửa sổ QuickTime đến màn hình iPad của bạn:
Kéo cửa sổ QuickTime hiển thị iPhone của bạn đến phần iPad của màn hình mở rộng của bạn
Tối đa hóa cửa sổ trên iPad của bạn
Bạn cũng có thể học cách gương Màn Hình iPhone/iPad lên MacBook tại đây.
Phương pháp này có nhiều bước hơn nhưng có thể hữu ích trong các tình huống chuyên nghiệp khi bạn cần ghi hình hoặc làm chú thích những gì đang xảy ra trên iPhone của bạn.
Các Giải Pháp Bên Thứ Ba: Cách Gương iPhone đến iPad Một Cách Dễ Dàng
Mặc dù các phương pháp tích hợp của Apple hoạt động tốt trong nhiều tình huống, nhưng chúng có những hạn chế. Các ứng dụng bên thứ ba cung cấp thêm tính linh hoạt, bao gồm khả năng gương iPhone đến iPad mà không cần cáp, hoàn hảo cho đi du lịch, những khu vực có kết nối kém, hoặc trong các trường hợp không thể tham gia vào một mạng mới.
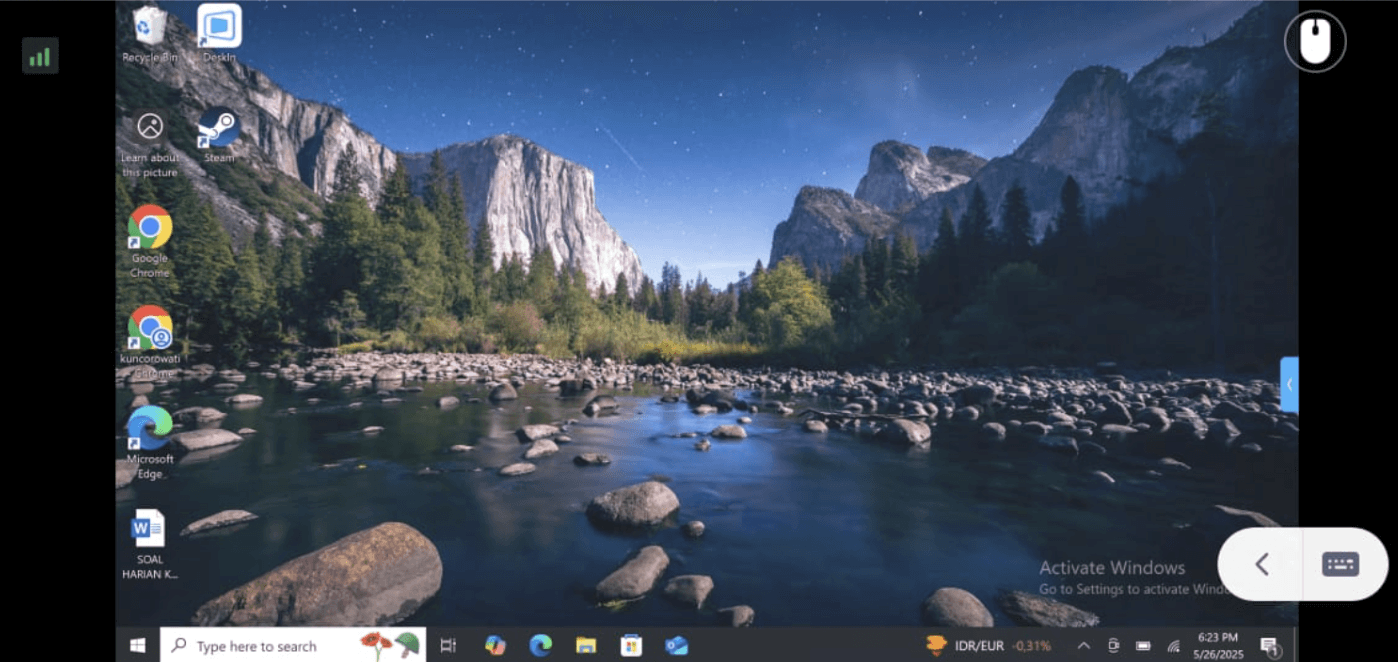
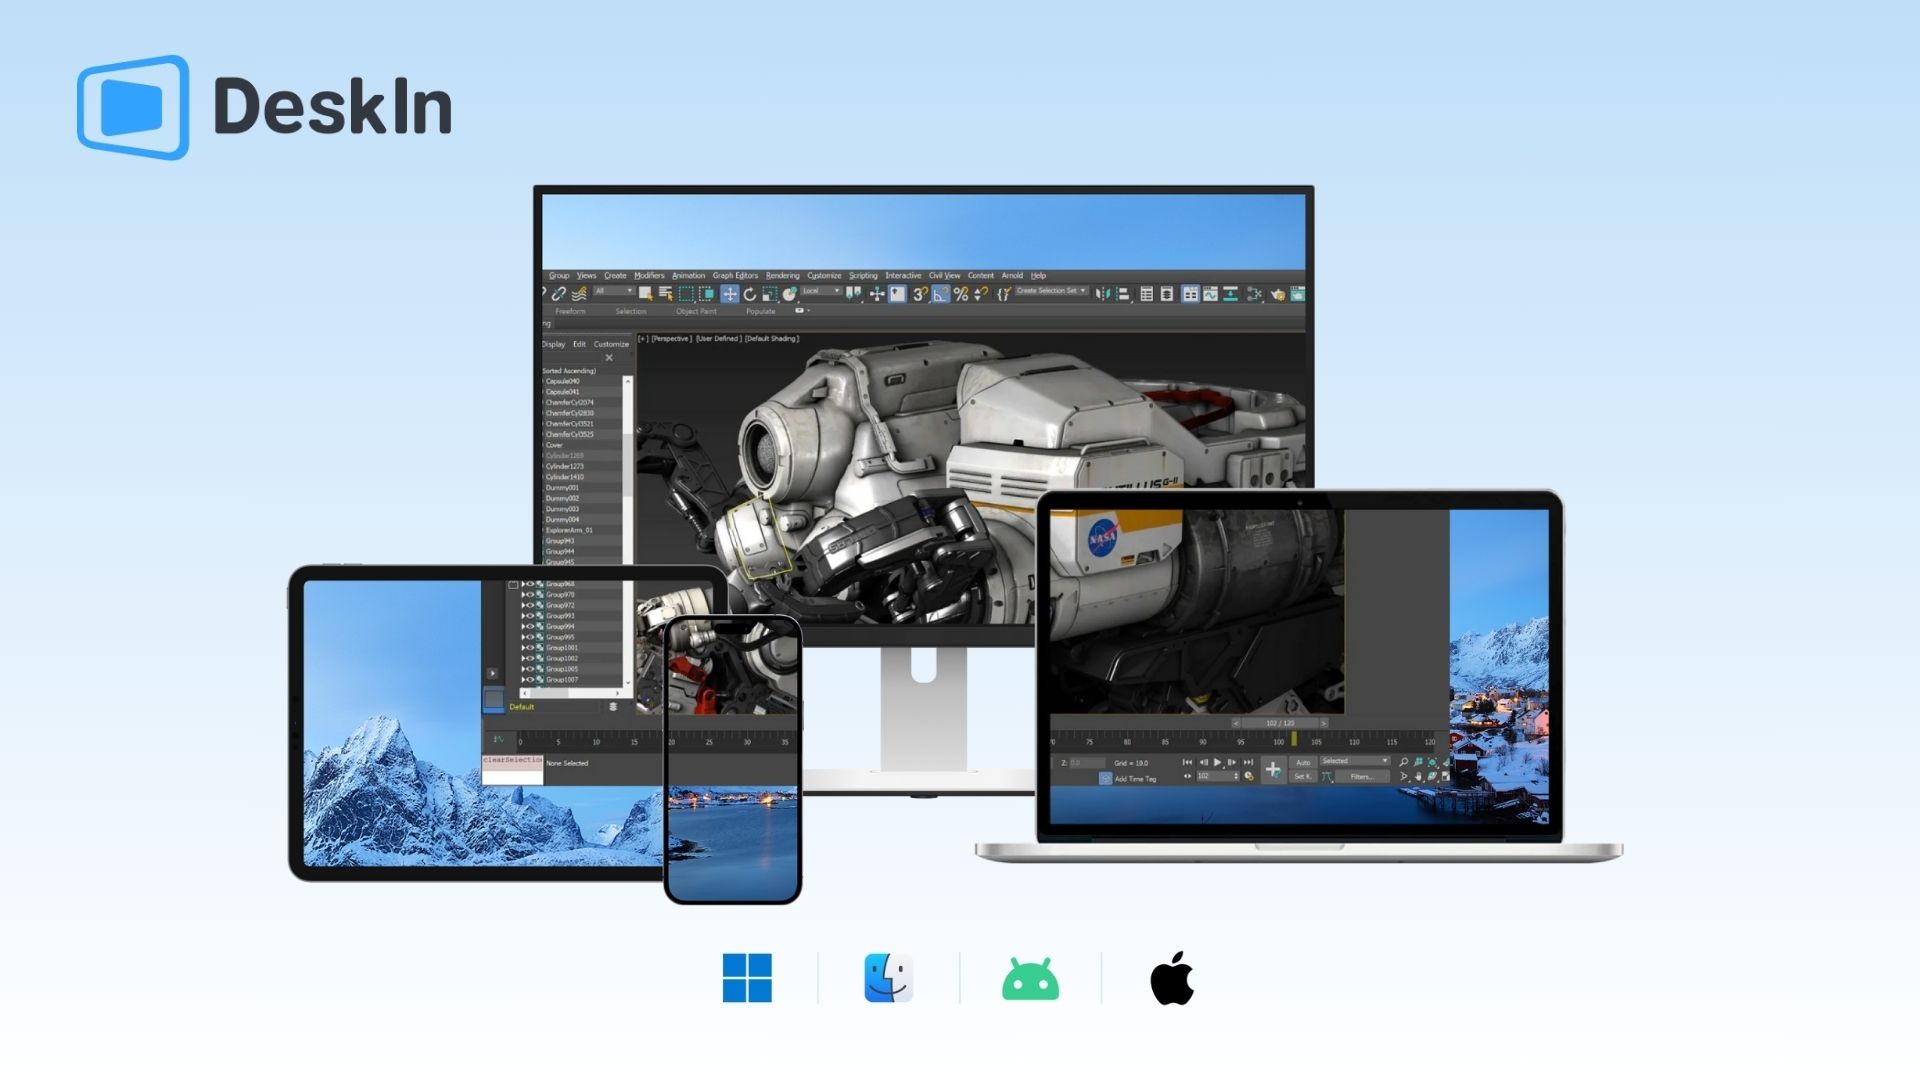
Sử Dụng DeskIn Để Gương iPhone đến iPad Mượt Mà
DeskIn cung cấp một trong những giải pháp linh hoạt nhất cho việc gương màn hình giữa các thiết bị Apple, với các tính năng độc đáo được thiết kế đặc biệt cho các chuyên gia và người du lịch kỹ thuật số.
👍 Những lợi ích chính của DeskIn đối với gương màn hình iPhone đến iPad:
Hoạt động không cần WiFi sử dụng kết nối trực tiếp giữa các thiết bị
Tốc độ khung cao hơn so với các giải pháp tích hợp (lên tới 144fps)
Độ trễ thấp hơn cho các tương tác theo thời gian thực
Bảo mật nâng cao với mã hóa đầu cuối
Tùy chọn điều khiển nâng cao bao gồm khả năng điều khiển cảm ứng
Khả năng tương thích đa nền tảng cho các quy trình công việc liên quan đến Windows và Android
👉 Cách gương iPhone đến iPad bằng cách sử dụng DeskIn:
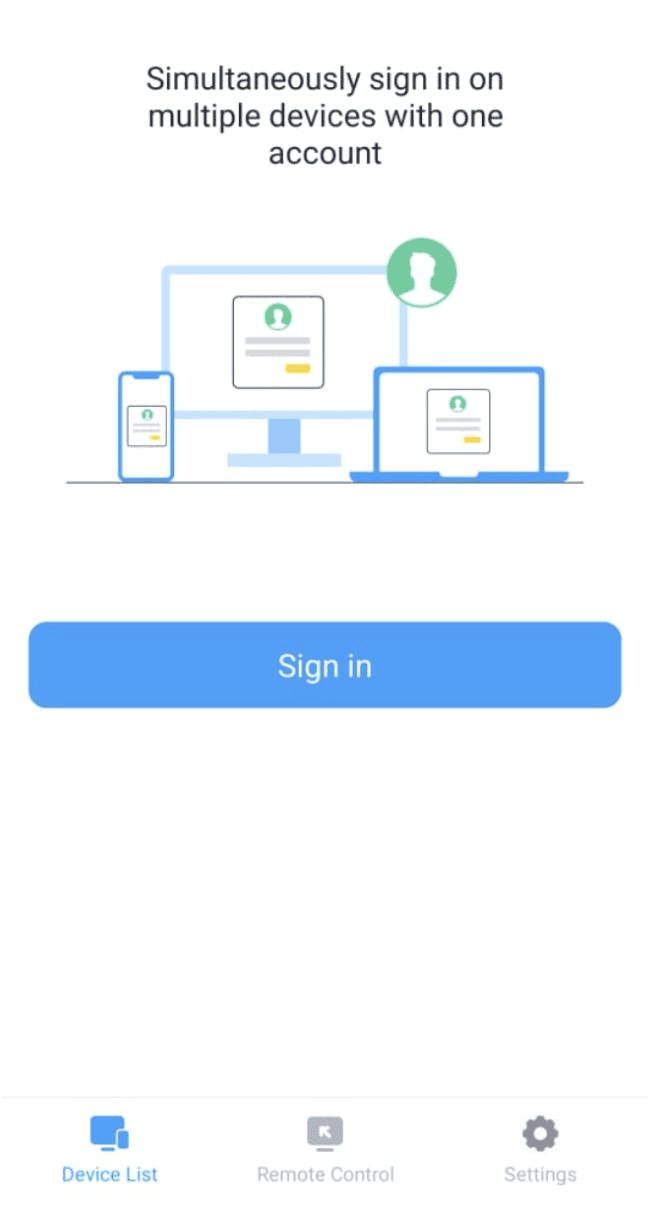
Cài đặt DeskIn:
Nhấp vào đây để Tải DeskIn trên cả iPhone và iPad của bạn từ App Store
Tạo một tài khoản miễn phí hoặc đăng nhập vào tài khoản hiện có của bạn
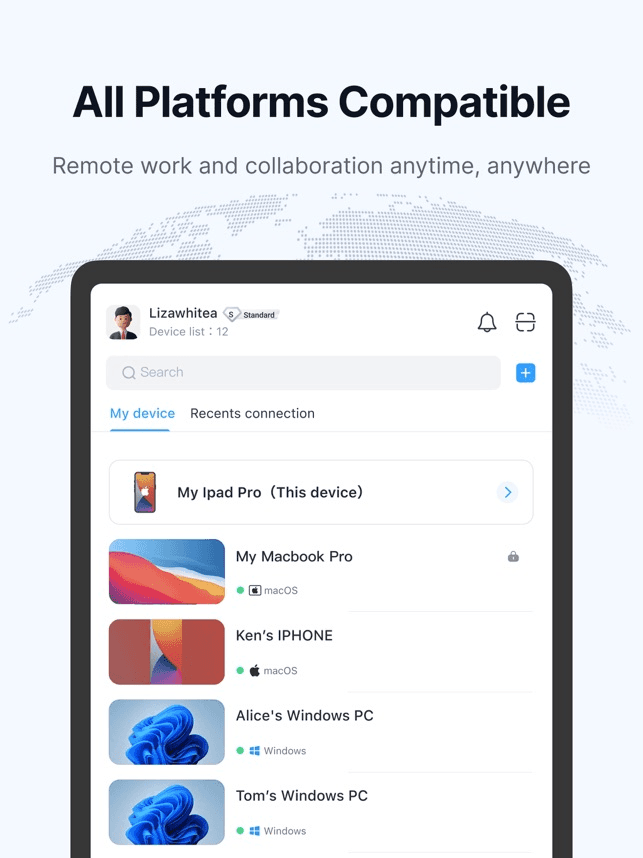
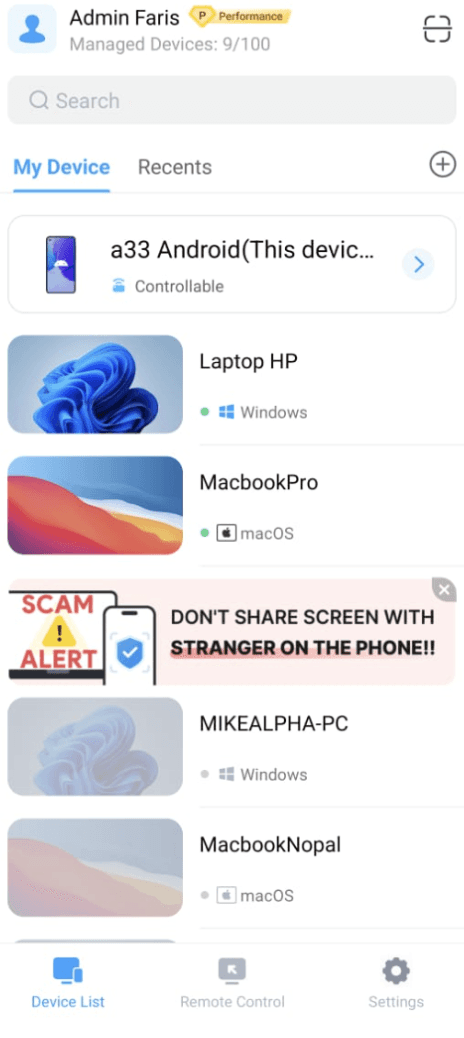
Kết nối các thiết bị của bạn:
Mở DeskIn trên cả hai thiết bị
Trên iPhone của bạn, chọn iPad từ danh sách các thiết bị có sẵn
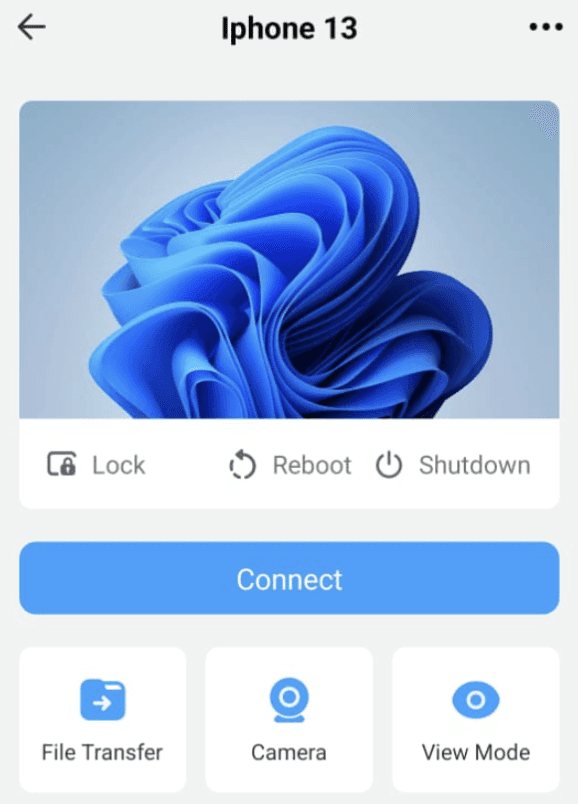
Trong tùy chọn tính năng, nhấn "Quản Lý Màn Hình"
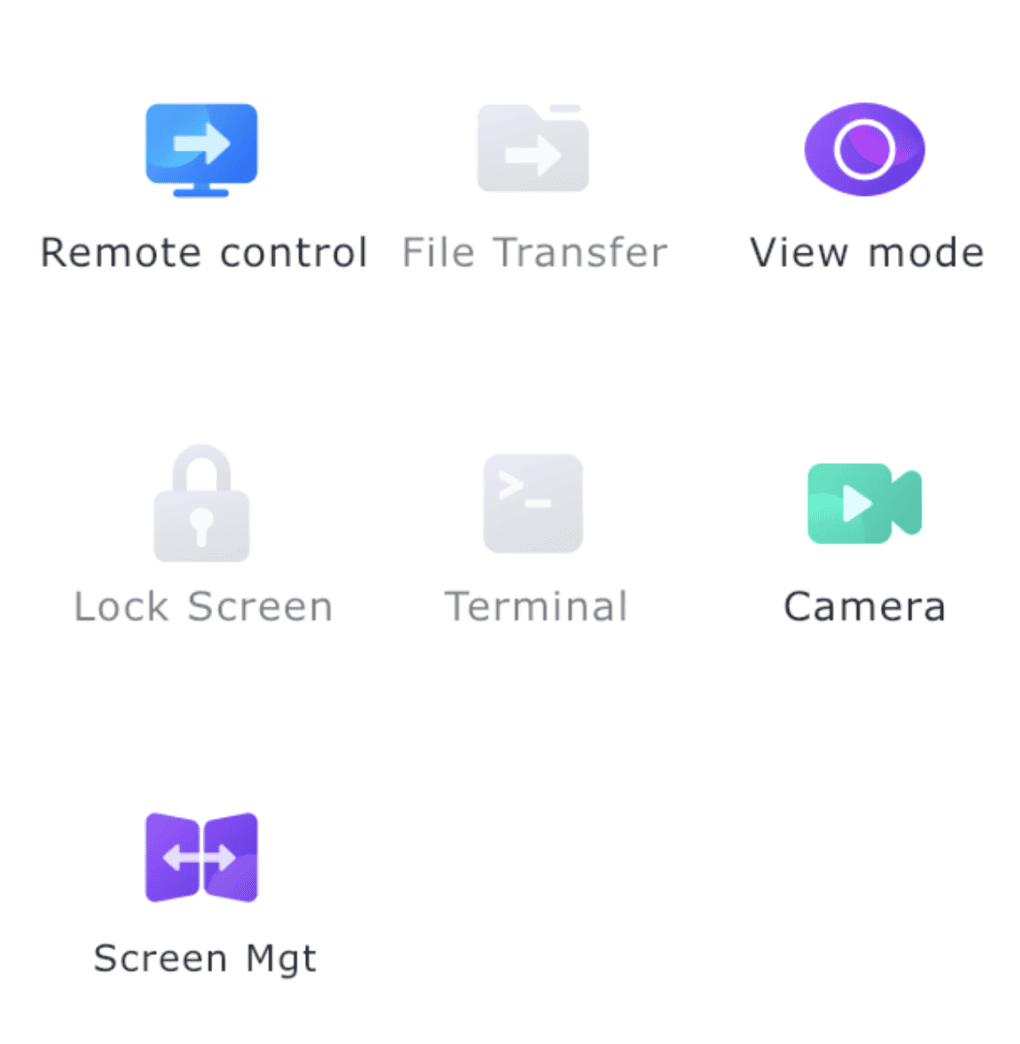
Chọn gương màn hình và nhấn “xác nhận”
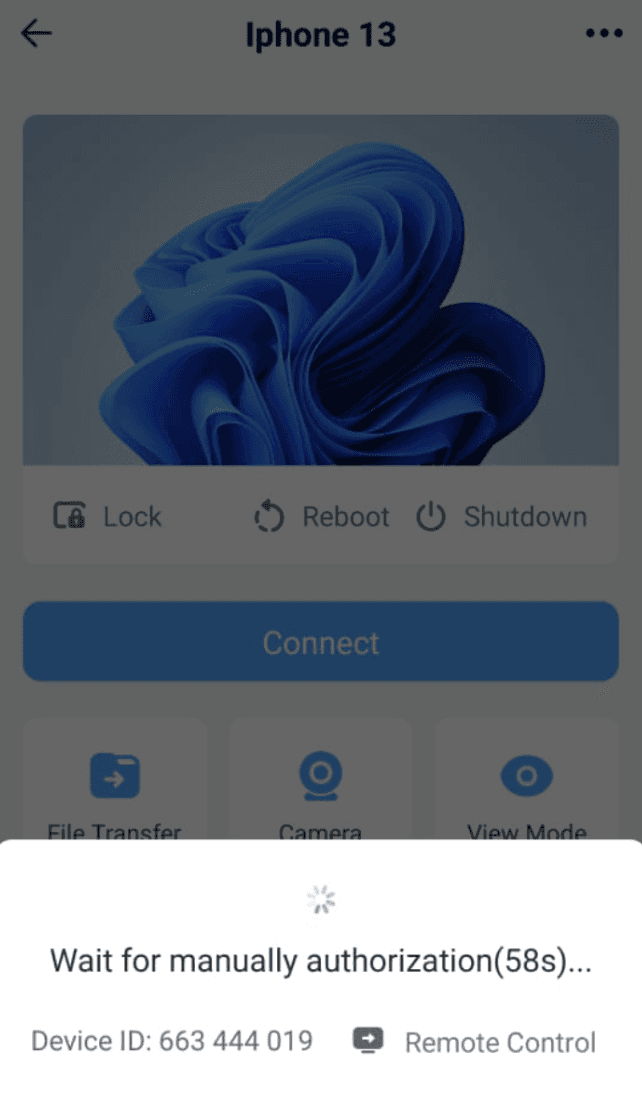
Trên iPad của bạn, nhấn "Đồng Ý" từ thông báo yêu cầu
Tùy chỉnh trải nghiệm của bạn:
Điều chỉnh cài đặt chất lượng dựa trên nhu cầu của bạn
Bật "Điều Khiển Cảm Ứng" để tương tác với iPhone của bạn qua iPad
Bật "Phát Âm Thanh" nếu bạn muốn âm thanh
Thiết lập "Kết Nối Tự Động" cho các thiết bị thường xuyên sử dụng
Kết thúc phiên:
Nhấn nút "Ngắt Kết Nối" trên bất kỳ thiết bị nào
Hoặc đóng ứng dụng DeskIn trên iPhone của bạn
Mark Williams, chuyên gia năng suất di động tại TechWorkflow Consultants, lưu ý: "DeskIn đã cách mạng hóa cách các chuyên gia sử dụng nhiều thiết bị Apple cùng nhau. Khả năng gương iPhone đến iPad mà không cần WiFi giải quyết một vấn đề quan trọng cho những người làm việc từ xa và du lịch, tạo điều kiện cho năng suất bất kể điều kiện mạng như thế nào."
Khắc Phục Vấn Đề Thường Gặp Khi Gương iPhone đến iPad
Ngay cả với những phương pháp tốt nhất, bạn có thể thỉnh thoảng gặp phải vấn đề khi cố gắng gương màn hình iPhone đến iPad. Dưới đây là các giải pháp cho những vấn đề phổ biến nhất:
Các Vấn Đề Kết Nối:
Đảm bảo cả hai thiết bị có Bluetooth được bật
Đặt lại cài đặt mạng nếu gặp vấn đề kết nối kéo dài
Kiểm tra cập nhật iOS trên cả hai thiết bị
Khởi động lại cả hai thiết bị nếu việc gương màn hình đột nhiên dừng hoạt động
Các Vấn Đề Hiệu Suất:
Đóng các ứng dụng nền trên cả hai thiết bị để cải thiện hiệu suất
Giảm độ phân giải màn hình trong cài đặt gương để phát lại mượt mà hơn
Giữ các thiết bị cách nhau trong vòng 30 feet để có kết nối tối ưu
Sử dụng phương pháp kết nối trực tiếp nếu WiFi bị tắc nghẽn
Các Vấn Đề Tương Thích:
Xác minh thiết bị của bạn hỗ trợ phương pháp gương mà bạn đang cố gắng sử dụng
Kiểm tra cập nhật ứng dụng nếu sử dụng các giải pháp bên thứ ba
Một số nội dung có bảo vệ DRM có thể không gương chính xác (đây là một hạn chế của nội dung, không phải thiết bị của bạn)
Một phân tích năm 2024 bởi TechSupport Metrics cho thấy rằng 78% các vấn đề gương màn hình có thể được giải quyết bằng cách khởi động lại thiết bị đơn giản, trong khi 15% cần điều chỉnh cài đặt và chỉ 7% cho thấy một giới hạn phần cứng hoặc sự không tương thích.
Để biết thêm thông tin, hãy xem các lựa chọn của chúng tôi về 5 Phần Mềm Desktop Từ Xa Bảo Mật Tốt Nhất
Kết Luận: Nâng Cao Trải Nghiệm Apple của Bạn Bằng Cách Nắm Bắt Gương Màn Hình iPhone đến iPad
Học cách gương iPhone đến iPad mở ra những khả năng mới cho năng suất, sáng tạo và giải trí trong hệ sinh thái Apple của bạn. Dù bạn cần gương màn hình iPhone đến iPad cho các buổi trình bày chuyên nghiệp, muốn thưởng thức nội dung trên một màn hình lớn hơn, hoặc cần gương iPhone đến iPad mà không cần WiFi trong khi du lịch, các phương pháp được nêu trong hướng dẫn này cung cấp giải pháp cho mọi kịch bản.
Các tính năng tích hợp của Apple cung cấp các tùy chọn thuận tiện khi cả hai thiết bị đều ở trên cùng một mạng, trong khi các giải pháp bên thứ ba mạnh mẽ như DeskIn mở rộng khả năng của bạn với hiệu suất nâng cao, kết nối trực tiếp và các tính năng điều khiển bổ sung.
Khi lực lượng lao động di động tiếp tục phát triển và các hệ sinh thái thiết bị trở nên quan trọng hơn đối với năng suất, việc nắm vững chức năng đa thiết bị như gương màn hình giúp bạn làm việc hiệu quả và linh hoạt hơn, bất kể vị trí hoặc tình huống kết nối của bạn.
Sẵn sàng để biến đổi cách bạn sử dụng các thiết bị Apple cùng nhau? Cài đặt DeskIn ngay bây giờ để trải nghiệm giải pháp gương màn hình iPhone đến iPad linh hoạt nhất. Với cả tùy chọn miễn phí và trả phí, DeskIn giúp bạn kết nối các thiết bị của mình và nâng cao năng suất, dù bạn đang ở văn phòng, ở nhà, hay đang di chuyển.
Hướng Dẫn Hoàn Chỉnh về Việc Chia Sẻ Màn Hình iPhone của Bạn với iPad Trong Năm 2025
Trong thế giới kết nối mạnh mẽ ngày nay, khả năng gương màn hình iPhone đến iPad đã trở nên ngày càng quan trọng đối với cả những người chuyên nghiệp và người dùng thông thường. Dù bạn là một người du lịch kỹ thuật số đang trình bày ý tưởng trong khi di chuyển, một nhân viên làm việc từ xa chia sẻ nội dung với đồng nghiệp, hoặc đơn giản là muốn thưởng thức nội dung từ iPhone của bạn trên màn hình lớn hơn, biết cách gương màn hình iPhone đến iPad có thể tăng cường đáng kể năng suất và trải nghiệm giải trí của bạn.
Theo một khảo sát năm 2024 của Mobile Workforce Analytics, khoảng 67% các chuyên gia làm việc từ xa hiện đang sử dụng nhiều thiết bị Apple hàng ngày, trong đó kết hợp iPhone-iPad là sự phối hợp phổ biến nhất. Tuy nhiên, thật ngạc nhiên, chỉ có 23% tận dụng tối đa chức năng đa thiết bị như gương màn hình - để lại một cơ hội lớn cho việc tăng cường năng suất chưa được khai thác.
Tại sao việc gương iPhone đến iPad lại quan trọng trong thế giới di động ngày nay
Câu hỏi "tôi có thể gương iPhone đến iPad không?" là một điều tôi thường nghe trong thực hành tư vấn công nghệ của mình. Câu trả lời là một cái có mạnh mẽ, và thực tế là đơn giản hơn nhiều người nhận ra. Càng tốt hơn, với những công cụ phù hợp, bạn có thể gương màn hình iPhone đến iPad mà không cần WiFi trong những trường hợp kết nối hạn chế.
📌 Thông báo Tăng Cường Năng Suất: Các nghiên cứu từ Viện Hiệu Suất Nơi Làm Việc cho thấy rằng các chuyên gia nắm vững quy trình làm việc đa thiết bị tiết kiệm trung bình 42 phút mỗi ngày - đó là hơn 3,5 giờ mỗi tuần bạn có thể lấy lại bằng cách thực hiện các kỹ thuật như gương màn hình iPhone đến iPad!
Bạn cũng có thể thích:
Trong hướng dẫn toàn diện này, tôi sẽ hướng dẫn bạn qua nhiều phương pháp để gương màn hình iPhone của bạn lên iPad, bao gồm cả các giải pháp tích hợp của Apple và các tùy chọn bên thứ ba mạnh mẽ như DeskIn cung cấp chức năng và linh hoạt nâng cao.
Các Phương Pháp Tích Hợp: Cách Gương iPhone đến iPad Sử Dụng Các Tính Năng Tích Hợp của Apple
Apple đã thiết kế hệ sinh thái của mình để hoạt động liền mạch với nhau, cung cấp một số cách tích hợp để gương màn hình iPhone đến iPad. Những phương pháp này yêu cầu ít thiết lập và sử dụng các tính năng đã có sẵn trên các thiết bị của bạn.
Sử Dụng AirPlay để Gương Màn Hình iPhone đến iPad
AirPlay là giao thức phát trực tuyến không dây của Apple cho phép bạn gương toàn bộ màn hình iPhone của bạn lên các thiết bị tương thích, bao gồm cả iPad của bạn.
Các yêu cầu:
Cả hai thiết bị đều chạy iOS 14 trở lên (hiệu suất tối ưu trên iOS 16 trở lên)
Cả hai thiết bị đều kết nối với cùng một mạng WiFi
Cả hai thiết bị đều đăng nhập vào cùng một Apple ID (đối với một số tính năng)
👉 Hướng dẫn từng bước:
Đảm bảo tính tương thích:
Cập nhật cả iPhone và iPad của bạn lên phiên bản iOS mới nhất
Kết nối cả hai thiết bị với cùng một mạng WiFi
Bật gương màn hình:
Trên iPhone của bạn, vuốt xuống từ góc trên bên phải để mở Control Center
Nhấn nút "Gương Màn Hình"
Chọn iPad của bạn từ danh sách các thiết bị có sẵn
Nếu được nhắc, nhập mã AirPlay xuất hiện trên iPad của bạn
Điều chỉnh cài đặt hiển thị:
Màn hình iPhone của bạn bây giờ sẽ xuất hiện trên iPad của bạn
Sử dụng cử chỉ kéo để điều chỉnh kích thước hiển thị trên iPad
Xoay iPad của bạn để thay đổi hướng nếu cần
Kết thúc phiên gương màn hình:
Mở Control Center trên iPhone của bạn
Nhấn "Gương Màn Hình"
Chọn "Dừng Gương"
Mặc dù AirPlay hoạt động tốt trong nhiều tình huống, nó có một số hạn chế - cụ thể, cả hai thiết bị phải ở trên cùng một mạng WiFi, và một số nội dung có thể bị hạn chế do bảo vệ DRM.
Sử Dụng Sidecar Như Một Phương Pháp Thay Thế
Khi Sidecar chủ yếu được thiết kế để mở rộng hiển thị của Mac đến iPad, nó có thể là một phần của quy trình công việc cho phép bạn xem nội dung iPhone trên iPad của bạn.
Các yêu cầu:
Mac chạy macOS Catalina trở lên
iPad tương thích với Sidecar (hầu hết các mẫu từ năm 2016 trở đi)
iPhone chạy iOS 14 trở lên
👉 Tổng quan quy trình:
Kết nối iPad với Mac qua Sidecar:
Trên Mac của bạn, nhấp vào biểu tượng AirPlay trên thanh menu
Chọn iPad của bạn từ danh sách
iPad của bạn bây giờ hoạt động như một màn hình mở rộng
Gương iPhone đến Mac:
Kết nối iPhone của bạn với Mac bằng cáp Lightning
Mở QuickTime Player trên Mac của bạn
Chọn "Tệp" > "Ghi Hình Mới"
Nhấp vào mũi tên thả xuống bên cạnh nút ghi
Chọn iPhone của bạn làm nguồn camera
Màn hình iPhone của bạn bây giờ hiển thị trong QuickTime
Di chuyển cửa sổ QuickTime đến màn hình iPad của bạn:
Kéo cửa sổ QuickTime hiển thị iPhone của bạn đến phần iPad của màn hình mở rộng của bạn
Tối đa hóa cửa sổ trên iPad của bạn
Bạn cũng có thể học cách gương Màn Hình iPhone/iPad lên MacBook tại đây.
Phương pháp này có nhiều bước hơn nhưng có thể hữu ích trong các tình huống chuyên nghiệp khi bạn cần ghi hình hoặc làm chú thích những gì đang xảy ra trên iPhone của bạn.
Các Giải Pháp Bên Thứ Ba: Cách Gương iPhone đến iPad Một Cách Dễ Dàng
Mặc dù các phương pháp tích hợp của Apple hoạt động tốt trong nhiều tình huống, nhưng chúng có những hạn chế. Các ứng dụng bên thứ ba cung cấp thêm tính linh hoạt, bao gồm khả năng gương iPhone đến iPad mà không cần cáp, hoàn hảo cho đi du lịch, những khu vực có kết nối kém, hoặc trong các trường hợp không thể tham gia vào một mạng mới.
Sử Dụng DeskIn Để Gương iPhone đến iPad Mượt Mà
DeskIn cung cấp một trong những giải pháp linh hoạt nhất cho việc gương màn hình giữa các thiết bị Apple, với các tính năng độc đáo được thiết kế đặc biệt cho các chuyên gia và người du lịch kỹ thuật số.
👍 Những lợi ích chính của DeskIn đối với gương màn hình iPhone đến iPad:
Hoạt động không cần WiFi sử dụng kết nối trực tiếp giữa các thiết bị
Tốc độ khung cao hơn so với các giải pháp tích hợp (lên tới 144fps)
Độ trễ thấp hơn cho các tương tác theo thời gian thực
Bảo mật nâng cao với mã hóa đầu cuối
Tùy chọn điều khiển nâng cao bao gồm khả năng điều khiển cảm ứng
Khả năng tương thích đa nền tảng cho các quy trình công việc liên quan đến Windows và Android
👉 Cách gương iPhone đến iPad bằng cách sử dụng DeskIn:
Cài đặt DeskIn:
Nhấp vào đây để Tải DeskIn trên cả iPhone và iPad của bạn từ App Store
Tạo một tài khoản miễn phí hoặc đăng nhập vào tài khoản hiện có của bạn
Kết nối các thiết bị của bạn:
Mở DeskIn trên cả hai thiết bị
Trên iPhone của bạn, chọn iPad từ danh sách các thiết bị có sẵn
Trong tùy chọn tính năng, nhấn "Quản Lý Màn Hình"
Chọn gương màn hình và nhấn “xác nhận”
Trên iPad của bạn, nhấn "Đồng Ý" từ thông báo yêu cầu
Tùy chỉnh trải nghiệm của bạn:
Điều chỉnh cài đặt chất lượng dựa trên nhu cầu của bạn
Bật "Điều Khiển Cảm Ứng" để tương tác với iPhone của bạn qua iPad
Bật "Phát Âm Thanh" nếu bạn muốn âm thanh
Thiết lập "Kết Nối Tự Động" cho các thiết bị thường xuyên sử dụng
Kết thúc phiên:
Nhấn nút "Ngắt Kết Nối" trên bất kỳ thiết bị nào
Hoặc đóng ứng dụng DeskIn trên iPhone của bạn
Mark Williams, chuyên gia năng suất di động tại TechWorkflow Consultants, lưu ý: "DeskIn đã cách mạng hóa cách các chuyên gia sử dụng nhiều thiết bị Apple cùng nhau. Khả năng gương iPhone đến iPad mà không cần WiFi giải quyết một vấn đề quan trọng cho những người làm việc từ xa và du lịch, tạo điều kiện cho năng suất bất kể điều kiện mạng như thế nào."
Khắc Phục Vấn Đề Thường Gặp Khi Gương iPhone đến iPad
Ngay cả với những phương pháp tốt nhất, bạn có thể thỉnh thoảng gặp phải vấn đề khi cố gắng gương màn hình iPhone đến iPad. Dưới đây là các giải pháp cho những vấn đề phổ biến nhất:
Các Vấn Đề Kết Nối:
Đảm bảo cả hai thiết bị có Bluetooth được bật
Đặt lại cài đặt mạng nếu gặp vấn đề kết nối kéo dài
Kiểm tra cập nhật iOS trên cả hai thiết bị
Khởi động lại cả hai thiết bị nếu việc gương màn hình đột nhiên dừng hoạt động
Các Vấn Đề Hiệu Suất:
Đóng các ứng dụng nền trên cả hai thiết bị để cải thiện hiệu suất
Giảm độ phân giải màn hình trong cài đặt gương để phát lại mượt mà hơn
Giữ các thiết bị cách nhau trong vòng 30 feet để có kết nối tối ưu
Sử dụng phương pháp kết nối trực tiếp nếu WiFi bị tắc nghẽn
Các Vấn Đề Tương Thích:
Xác minh thiết bị của bạn hỗ trợ phương pháp gương mà bạn đang cố gắng sử dụng
Kiểm tra cập nhật ứng dụng nếu sử dụng các giải pháp bên thứ ba
Một số nội dung có bảo vệ DRM có thể không gương chính xác (đây là một hạn chế của nội dung, không phải thiết bị của bạn)
Một phân tích năm 2024 bởi TechSupport Metrics cho thấy rằng 78% các vấn đề gương màn hình có thể được giải quyết bằng cách khởi động lại thiết bị đơn giản, trong khi 15% cần điều chỉnh cài đặt và chỉ 7% cho thấy một giới hạn phần cứng hoặc sự không tương thích.
Để biết thêm thông tin, hãy xem các lựa chọn của chúng tôi về 5 Phần Mềm Desktop Từ Xa Bảo Mật Tốt Nhất
Kết Luận: Nâng Cao Trải Nghiệm Apple của Bạn Bằng Cách Nắm Bắt Gương Màn Hình iPhone đến iPad
Học cách gương iPhone đến iPad mở ra những khả năng mới cho năng suất, sáng tạo và giải trí trong hệ sinh thái Apple của bạn. Dù bạn cần gương màn hình iPhone đến iPad cho các buổi trình bày chuyên nghiệp, muốn thưởng thức nội dung trên một màn hình lớn hơn, hoặc cần gương iPhone đến iPad mà không cần WiFi trong khi du lịch, các phương pháp được nêu trong hướng dẫn này cung cấp giải pháp cho mọi kịch bản.
Các tính năng tích hợp của Apple cung cấp các tùy chọn thuận tiện khi cả hai thiết bị đều ở trên cùng một mạng, trong khi các giải pháp bên thứ ba mạnh mẽ như DeskIn mở rộng khả năng của bạn với hiệu suất nâng cao, kết nối trực tiếp và các tính năng điều khiển bổ sung.
Khi lực lượng lao động di động tiếp tục phát triển và các hệ sinh thái thiết bị trở nên quan trọng hơn đối với năng suất, việc nắm vững chức năng đa thiết bị như gương màn hình giúp bạn làm việc hiệu quả và linh hoạt hơn, bất kể vị trí hoặc tình huống kết nối của bạn.
Sẵn sàng để biến đổi cách bạn sử dụng các thiết bị Apple cùng nhau? Cài đặt DeskIn ngay bây giờ để trải nghiệm giải pháp gương màn hình iPhone đến iPad linh hoạt nhất. Với cả tùy chọn miễn phí và trả phí, DeskIn giúp bạn kết nối các thiết bị của mình và nâng cao năng suất, dù bạn đang ở văn phòng, ở nhà, hay đang di chuyển.