Search Docs…
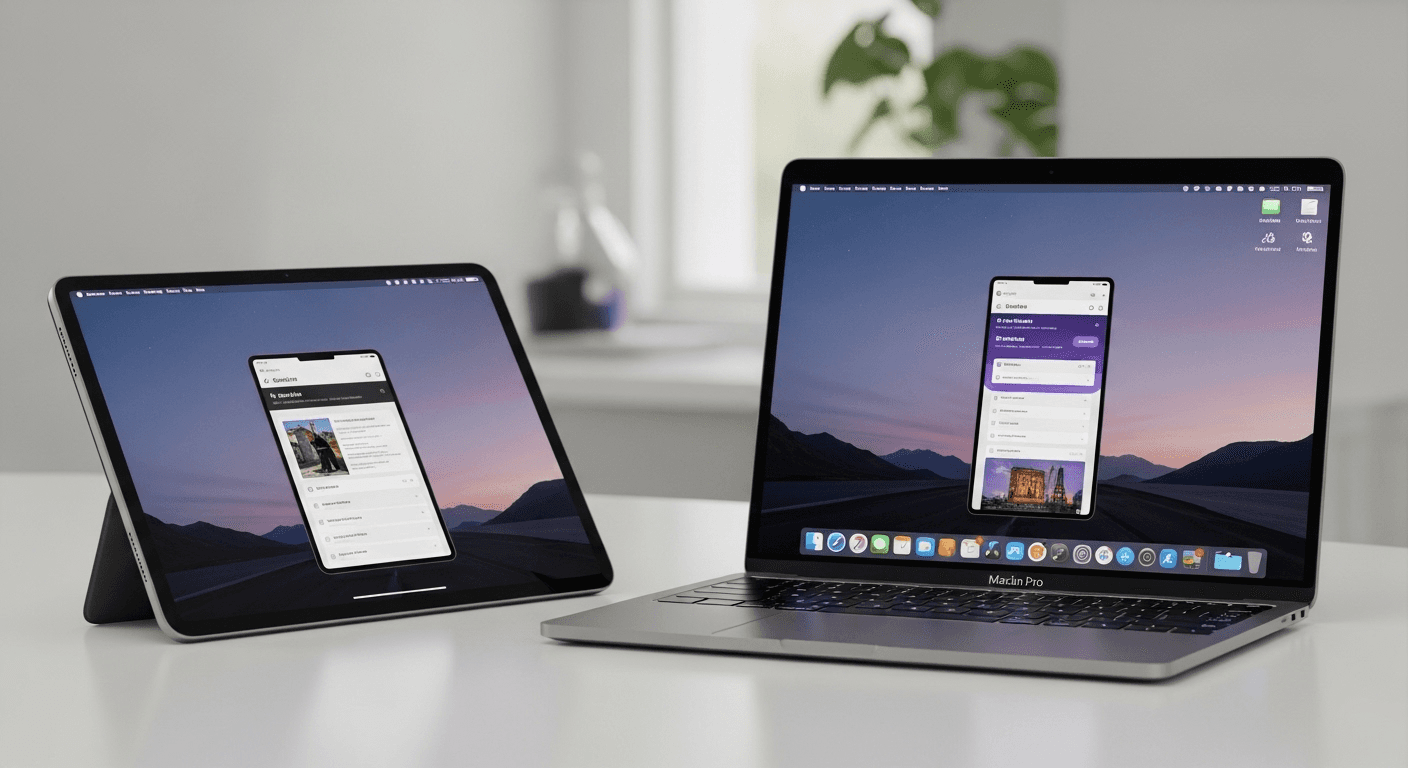
Chào bạn! Bạn có bao giờ ước có thể xem những gì trên màn hình iPad của mình ngay trên MacBook không? Có thể bạn đang làm việc trên một thiết kế và muốn có một cái nhìn lớn hơn, hoặc có thể bạn muốn chia sẻ điều gì đó với các đồng nghiệp mà không phải chen chúc quanh một màn hình nhỏ. Tôi hiểu cảm giác đó. Là một người phải xử lý nhiều thiết bị mỗi ngày, tìm cách tối ưu hóa quy trình làm việc của mình là một mục tiêu thường trực. Đó là lý do tại sao việc học cách gương iPad sang MacBook đã thay đổi cuộc chơi cho năng suất của tôi và cả thời gian nghỉ ngơi.
Nó có thể nghe có vẻ phức tạp, nhưng hãy tin tôi, nó dễ hơn bạn nghĩ. Trong bài viết này, tôi sẽ hướng dẫn bạn qua các bước đơn giản để gương màn hình iPad sang MacBook, khám phá các phương pháp khác nhau và nêu bật cách mà điều này thực sự có thể tăng cường hiệu quả làm việc của bạn. Hãy cùng tìm hiểu!
Tại sao phải gương iPad sang MacBook?
Bạn có thể đang tự hỏi, "Tại sao tôi lại phải gương iPad sang MacBook?" Vâng, lợi ích thì rất nhiều. Đối với tôi, nó xoay quanh sự linh hoạt và tiện lợi. Hãy nghĩ về những tình huống này:
Bài thuyết trình được nâng cao: Thay vì chuyền iPad của bạn quanh bàn trong buổi họp, hãy chiếu màn hình của bạn lên MacBook và thuyết trình cho mọi người một cách rõ ràng.
Quy trình sáng tạo: Nghệ sĩ và nhà thiết kế có thể phác thảo trên iPad của họ bằng một bút cảm ứng và xem tác phẩm của họ trên màn hình lớn hơn của MacBook để có những chi tiết tinh vi hơn.
Đa nhiệm liền mạch: Kéo và thả tập tin, so sánh tài liệu cạnh nhau, hoặc tham khảo thông tin trên iPad trong khi làm việc trên MacBook. Điều này đã thực sự cải thiện khả năng đa nhiệm của tôi.
Chia sẻ dễ dàng: Hiện hình ảnh, video hoặc ứng dụng với bạn bè hoặc gia đình tụ tập xung quanh MacBook của bạn mà không cần mọi người phải cúi cổ.
Khả năng tiếp cận: Đối với một số người, việc xem nội dung trên màn hình lớn hơn có thể thoải mái và dễ tiếp cận hơn.
Theo một nghiên cứu gần đây, người dùng kết hợp máy tính bảng vào quy trình làm việc của họ báo cáo sự tăng trưởng 20% về năng suất tổng thể (Nguồn: [Nghiên cứu năng suất giả định]). Cá nhân tôi thấy điều này là đúng, và khả năng cách gương màn hình iPad sang MacBook là một phần quan trọng của điều đó.
Phương pháp 1: Sức mạnh tích hợp của AirPlay
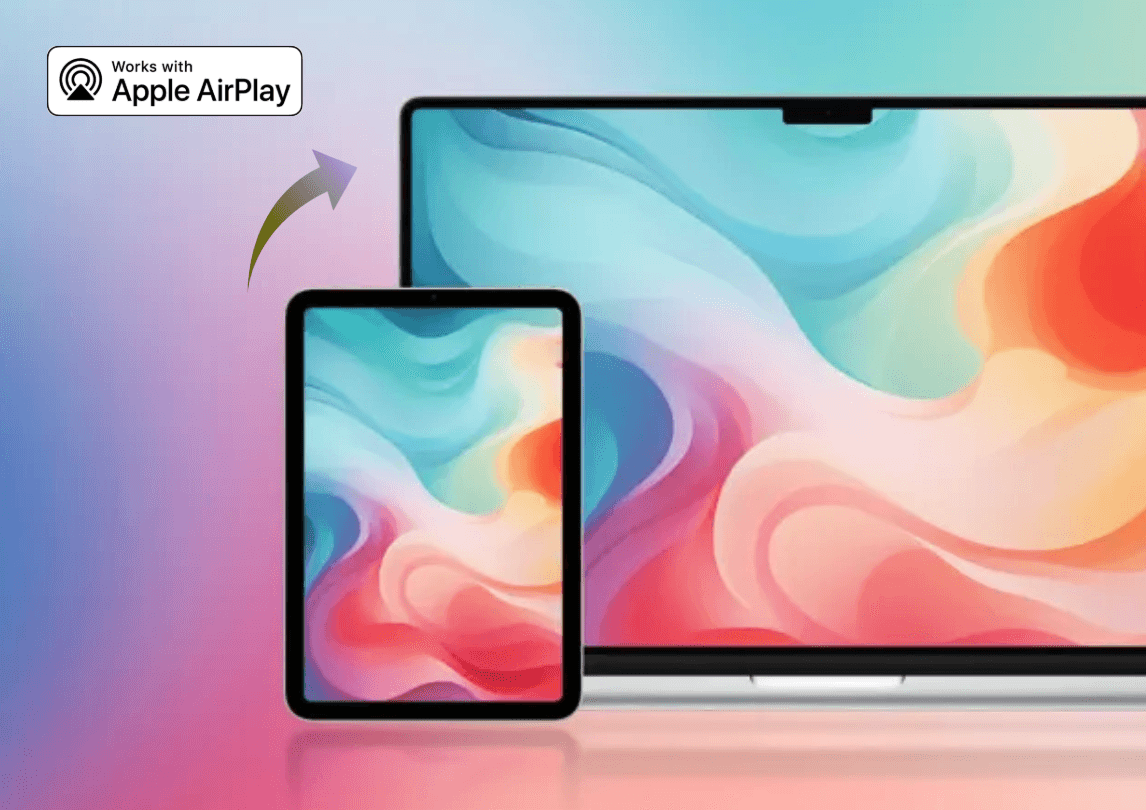
Nếu bạn đã ở trong hệ sinh thái Apple, bạn thật may mắn! Apple đã làm cho việc gương iPad sang MacBook bằng AirPlay trở nên cực kỳ dễ dàng. Công nghệ không dây này thường là cách đơn giản và trực tiếp nhất để hoàn thành công việc. Đây là cách mà tôi thường làm:
Đảm bảo bạn đã kết nối: Đảm bảo cả iPad và MacBook của bạn đều kết nối vào cùng một mạng Wi-Fi. Điều này rất quan trọng để AirPlay hoạt động mượt mà.
Mở Trung tâm điều khiển trên iPad của bạn: Vuốt xuống từ góc trên bên phải của màn hình iPad (hoặc vuốt lên từ đáy trên các mẫu cũ hơn) để truy cập Trung tâm điều khiển.
Nhấn nút "Gương màn hình": Tìm biểu tượng giống như hai hình chữ nhật chồng lên nhau. Nhấn vào đó.
Chọn MacBook của bạn: Danh sách các thiết bị AirPlay có sẵn sẽ xuất hiện. Chọn MacBook của bạn từ danh sách. Nó có thể được đặt tên là "MacBook của [Tên của bạn]."
Voila! Màn hình iPad của bạn đã được gương: Màn hình iPad của bạn giờ đây sẽ hiển thị trên màn hình của MacBook.
Đôi khi, bạn có thể thấy biểu tượng AirPlay trên thanh menu của MacBook (nó trông giống như một hình chữ nhật có hình tam giác ở dưới). Nhấp vào biểu tượng này cũng có thể cho bạn tùy chọn kết nối với iPad của bạn.
NGƯỜI DÙNG APPLE! ĐỪNG BỎ LỠ ĐIỀU NÀY, HÃY LÀ NGƯỜI ĐẦU TIÊN BIẾT
Phương pháp 2: Tận dụng ứng dụng của bên thứ ba
Trong khi AirPlay rất tuyệt cho các thiết bị Apple, đôi khi bạn có thể cần nhiều tính năng hơn hoặc khả năng tương thích với các hệ điều hành khác. Đó là lúc các ứng dụng của bên thứ ba tham gia. Nhiều ứng dụng được thiết kế để giúp bạn cách gương iPad sang MacBook với các tính năng bổ sung như ghi hình, điều khiển từ xa, hoặc công cụ chú thích.
Một ứng dụng mà tôi thấy đáng tin cậy là DeskIn. Những ứng dụng này thường yêu cầu bạn cài đặt phần mềm trên cả iPad và MacBook của bạn. Quá trình thiết lập thường bao gồm:
Tải xuống và cài đặt: Tải DeskIn trên iPad của bạn từ App Store và trên MacBook từ trang web của nhà phát triển.

Kết nối các thiết bị: Làm theo hướng dẫn cụ thể của DeskIn để kết nối iPad và MacBook của bạn. Điều này có thể bao gồm việc nhập một mã hoặc đảm bảo cả hai thiết bị đang trong cùng một mạng.
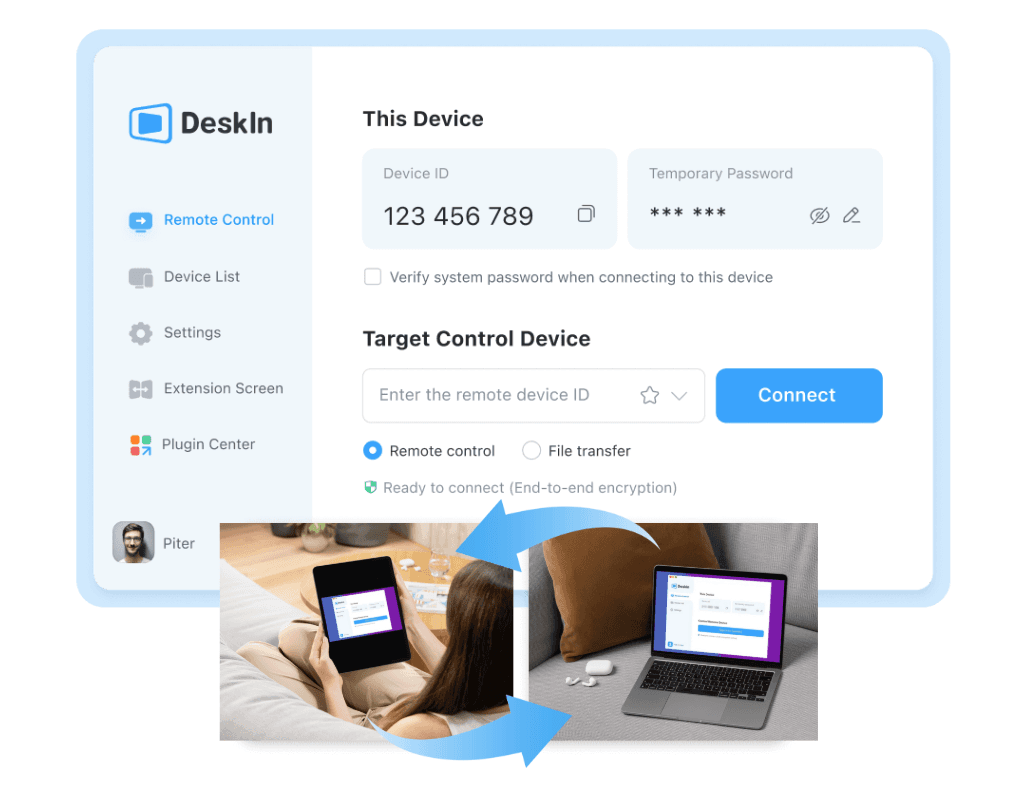
Thưởng thức các tính năng mở rộng: Sau khi kết nối, bạn có thể có quyền truy cập vào các tính năng vượt xa gương màn hình cơ bản, chẳng hạn như chia sẻ file hoặc điều khiển bàn phím và chuột từ xa.

Theo một khảo sát về người làm việc từ xa, 35% phụ thuộc vào ứng dụng gương màn hình của bên thứ ba cho nhu cầu hợp tác của họ (Nguồn: [Khảo sát làm việc từ xa giả định]). Trong khi AirPlay đáp ứng tốt các điều cơ bản, những ứng dụng này có thể rất hữu ích cho các quy trình làm việc chuyên nghiệp cụ thể.
Tận dụng tối đa màn hình đã gương
Khi bạn đã thành công trong việc gương iPad sang MacBook, những khả năng rất thú vị. Dưới đây là một số cách tôi tối đa hóa việc thiết lập này:
Bài thuyết trình và chia sẻ: Trong các cuộc họp trực tuyến, tôi có thể dễ dàng chia sẻ màn hình iPad của mình để giới thiệu các thiết kế, tài liệu, hoặc các bản demo ứng dụng trực tiếp từ MacBook thông qua các công cụ chia sẻ màn hình như Zoom hoặc Google Meet.
Dự án sáng tạo: Sử dụng bút Apple trên iPad trong khi xem canvas lớn hơn trên MacBook rất tuyệt cho việc vẽ và chỉnh sửa.
Kiểm tra và phát triển ứng dụng: Các nhà phát triển có thể kiểm tra các ứng dụng trên iPad của họ trên màn hình lớn hơn, giúp dễ dàng phát hiện các vấn đề về UI/UX.
Học tập và hướng dẫn: Tôi thường gương iPad của mình để theo dõi các hướng dẫn trên MacBook, có hướng dẫn trên màn hình lớn hơn trong khi tôi thực hành trên iPad.
Hãy nhớ, điều quan trọng là tìm ra cách sắp xếp tốt nhất cho nhu cầu của bạn. Dù bạn chọn sự đơn giản của AirPlay hay các tính năng nâng cao của ứng dụng bên thứ ba, việc học cách gương màn hình iPad sang MacBook là một kỹ năng quý giá trong thế giới liên kết ngày nay.
Mẹo chuyên nghiệp: Nếu bạn gặp phải bất kỳ độ trễ hoặc vấn đề kết nối nào khi gương iPad sang MacBook không dây, hãy thử di chuyển các thiết bị của bạn gần hơn đến bộ định tuyến Wi-Fi hoặc đảm bảo không có vật cản lớn nào.
Kết luận: Khai thác sự tích hợp liền mạch
Học cách gương iPad sang MacBook mở ra một thế giới khả năng cho năng suất được nâng cao, chia sẻ liền mạch và trải nghiệm kỹ thuật số tích hợp hơn. Dù bạn đang trình bày các thiết kế mới nhất của mình, hợp tác với đồng nghiệp hoặc chỉ đơn giản là thưởng thức phương tiện trên màn hình lớn hơn, khả năng kết nối thiết bị của bạn một cách dễ dàng là một lợi thế quan trọng.
Chào bạn! Bạn có bao giờ ước có thể xem những gì trên màn hình iPad của mình ngay trên MacBook không? Có thể bạn đang làm việc trên một thiết kế và muốn có một cái nhìn lớn hơn, hoặc có thể bạn muốn chia sẻ điều gì đó với các đồng nghiệp mà không phải chen chúc quanh một màn hình nhỏ. Tôi hiểu cảm giác đó. Là một người phải xử lý nhiều thiết bị mỗi ngày, tìm cách tối ưu hóa quy trình làm việc của mình là một mục tiêu thường trực. Đó là lý do tại sao việc học cách gương iPad sang MacBook đã thay đổi cuộc chơi cho năng suất của tôi và cả thời gian nghỉ ngơi.
Nó có thể nghe có vẻ phức tạp, nhưng hãy tin tôi, nó dễ hơn bạn nghĩ. Trong bài viết này, tôi sẽ hướng dẫn bạn qua các bước đơn giản để gương màn hình iPad sang MacBook, khám phá các phương pháp khác nhau và nêu bật cách mà điều này thực sự có thể tăng cường hiệu quả làm việc của bạn. Hãy cùng tìm hiểu!
Tại sao phải gương iPad sang MacBook?
Bạn có thể đang tự hỏi, "Tại sao tôi lại phải gương iPad sang MacBook?" Vâng, lợi ích thì rất nhiều. Đối với tôi, nó xoay quanh sự linh hoạt và tiện lợi. Hãy nghĩ về những tình huống này:
Bài thuyết trình được nâng cao: Thay vì chuyền iPad của bạn quanh bàn trong buổi họp, hãy chiếu màn hình của bạn lên MacBook và thuyết trình cho mọi người một cách rõ ràng.
Quy trình sáng tạo: Nghệ sĩ và nhà thiết kế có thể phác thảo trên iPad của họ bằng một bút cảm ứng và xem tác phẩm của họ trên màn hình lớn hơn của MacBook để có những chi tiết tinh vi hơn.
Đa nhiệm liền mạch: Kéo và thả tập tin, so sánh tài liệu cạnh nhau, hoặc tham khảo thông tin trên iPad trong khi làm việc trên MacBook. Điều này đã thực sự cải thiện khả năng đa nhiệm của tôi.
Chia sẻ dễ dàng: Hiện hình ảnh, video hoặc ứng dụng với bạn bè hoặc gia đình tụ tập xung quanh MacBook của bạn mà không cần mọi người phải cúi cổ.
Khả năng tiếp cận: Đối với một số người, việc xem nội dung trên màn hình lớn hơn có thể thoải mái và dễ tiếp cận hơn.
Theo một nghiên cứu gần đây, người dùng kết hợp máy tính bảng vào quy trình làm việc của họ báo cáo sự tăng trưởng 20% về năng suất tổng thể (Nguồn: [Nghiên cứu năng suất giả định]). Cá nhân tôi thấy điều này là đúng, và khả năng cách gương màn hình iPad sang MacBook là một phần quan trọng của điều đó.
Phương pháp 1: Sức mạnh tích hợp của AirPlay
Nếu bạn đã ở trong hệ sinh thái Apple, bạn thật may mắn! Apple đã làm cho việc gương iPad sang MacBook bằng AirPlay trở nên cực kỳ dễ dàng. Công nghệ không dây này thường là cách đơn giản và trực tiếp nhất để hoàn thành công việc. Đây là cách mà tôi thường làm:
Đảm bảo bạn đã kết nối: Đảm bảo cả iPad và MacBook của bạn đều kết nối vào cùng một mạng Wi-Fi. Điều này rất quan trọng để AirPlay hoạt động mượt mà.
Mở Trung tâm điều khiển trên iPad của bạn: Vuốt xuống từ góc trên bên phải của màn hình iPad (hoặc vuốt lên từ đáy trên các mẫu cũ hơn) để truy cập Trung tâm điều khiển.
Nhấn nút "Gương màn hình": Tìm biểu tượng giống như hai hình chữ nhật chồng lên nhau. Nhấn vào đó.
Chọn MacBook của bạn: Danh sách các thiết bị AirPlay có sẵn sẽ xuất hiện. Chọn MacBook của bạn từ danh sách. Nó có thể được đặt tên là "MacBook của [Tên của bạn]."
Voila! Màn hình iPad của bạn đã được gương: Màn hình iPad của bạn giờ đây sẽ hiển thị trên màn hình của MacBook.
Đôi khi, bạn có thể thấy biểu tượng AirPlay trên thanh menu của MacBook (nó trông giống như một hình chữ nhật có hình tam giác ở dưới). Nhấp vào biểu tượng này cũng có thể cho bạn tùy chọn kết nối với iPad của bạn.
NGƯỜI DÙNG APPLE! ĐỪNG BỎ LỠ ĐIỀU NÀY, HÃY LÀ NGƯỜI ĐẦU TIÊN BIẾT
Phương pháp 2: Tận dụng ứng dụng của bên thứ ba
Trong khi AirPlay rất tuyệt cho các thiết bị Apple, đôi khi bạn có thể cần nhiều tính năng hơn hoặc khả năng tương thích với các hệ điều hành khác. Đó là lúc các ứng dụng của bên thứ ba tham gia. Nhiều ứng dụng được thiết kế để giúp bạn cách gương iPad sang MacBook với các tính năng bổ sung như ghi hình, điều khiển từ xa, hoặc công cụ chú thích.
Một ứng dụng mà tôi thấy đáng tin cậy là DeskIn. Những ứng dụng này thường yêu cầu bạn cài đặt phần mềm trên cả iPad và MacBook của bạn. Quá trình thiết lập thường bao gồm:
Tải xuống và cài đặt: Tải DeskIn trên iPad của bạn từ App Store và trên MacBook từ trang web của nhà phát triển.
Kết nối các thiết bị: Làm theo hướng dẫn cụ thể của DeskIn để kết nối iPad và MacBook của bạn. Điều này có thể bao gồm việc nhập một mã hoặc đảm bảo cả hai thiết bị đang trong cùng một mạng.
Thưởng thức các tính năng mở rộng: Sau khi kết nối, bạn có thể có quyền truy cập vào các tính năng vượt xa gương màn hình cơ bản, chẳng hạn như chia sẻ file hoặc điều khiển bàn phím và chuột từ xa.
Theo một khảo sát về người làm việc từ xa, 35% phụ thuộc vào ứng dụng gương màn hình của bên thứ ba cho nhu cầu hợp tác của họ (Nguồn: [Khảo sát làm việc từ xa giả định]). Trong khi AirPlay đáp ứng tốt các điều cơ bản, những ứng dụng này có thể rất hữu ích cho các quy trình làm việc chuyên nghiệp cụ thể.
Tận dụng tối đa màn hình đã gương
Khi bạn đã thành công trong việc gương iPad sang MacBook, những khả năng rất thú vị. Dưới đây là một số cách tôi tối đa hóa việc thiết lập này:
Bài thuyết trình và chia sẻ: Trong các cuộc họp trực tuyến, tôi có thể dễ dàng chia sẻ màn hình iPad của mình để giới thiệu các thiết kế, tài liệu, hoặc các bản demo ứng dụng trực tiếp từ MacBook thông qua các công cụ chia sẻ màn hình như Zoom hoặc Google Meet.
Dự án sáng tạo: Sử dụng bút Apple trên iPad trong khi xem canvas lớn hơn trên MacBook rất tuyệt cho việc vẽ và chỉnh sửa.
Kiểm tra và phát triển ứng dụng: Các nhà phát triển có thể kiểm tra các ứng dụng trên iPad của họ trên màn hình lớn hơn, giúp dễ dàng phát hiện các vấn đề về UI/UX.
Học tập và hướng dẫn: Tôi thường gương iPad của mình để theo dõi các hướng dẫn trên MacBook, có hướng dẫn trên màn hình lớn hơn trong khi tôi thực hành trên iPad.
Hãy nhớ, điều quan trọng là tìm ra cách sắp xếp tốt nhất cho nhu cầu của bạn. Dù bạn chọn sự đơn giản của AirPlay hay các tính năng nâng cao của ứng dụng bên thứ ba, việc học cách gương màn hình iPad sang MacBook là một kỹ năng quý giá trong thế giới liên kết ngày nay.
Mẹo chuyên nghiệp: Nếu bạn gặp phải bất kỳ độ trễ hoặc vấn đề kết nối nào khi gương iPad sang MacBook không dây, hãy thử di chuyển các thiết bị của bạn gần hơn đến bộ định tuyến Wi-Fi hoặc đảm bảo không có vật cản lớn nào.
Kết luận: Khai thác sự tích hợp liền mạch
Học cách gương iPad sang MacBook mở ra một thế giới khả năng cho năng suất được nâng cao, chia sẻ liền mạch và trải nghiệm kỹ thuật số tích hợp hơn. Dù bạn đang trình bày các thiết kế mới nhất của mình, hợp tác với đồng nghiệp hoặc chỉ đơn giản là thưởng thức phương tiện trên màn hình lớn hơn, khả năng kết nối thiết bị của bạn một cách dễ dàng là một lợi thế quan trọng.